Looking for a quick and easy handmade gift for the holidays?! Impress friends and family with these simple yet stunning wooden rings. NTS crew member Garrett shows you how to make them with limited materials and tools that you likely already have around your home. You don’t have to run out to buy an expensive lathe, drill press or bandsaw to create these beautiful wooden rings!
Watch the video and check out our step-by-step instructions with photos. You can also download the steps on our Instructables tutorial!
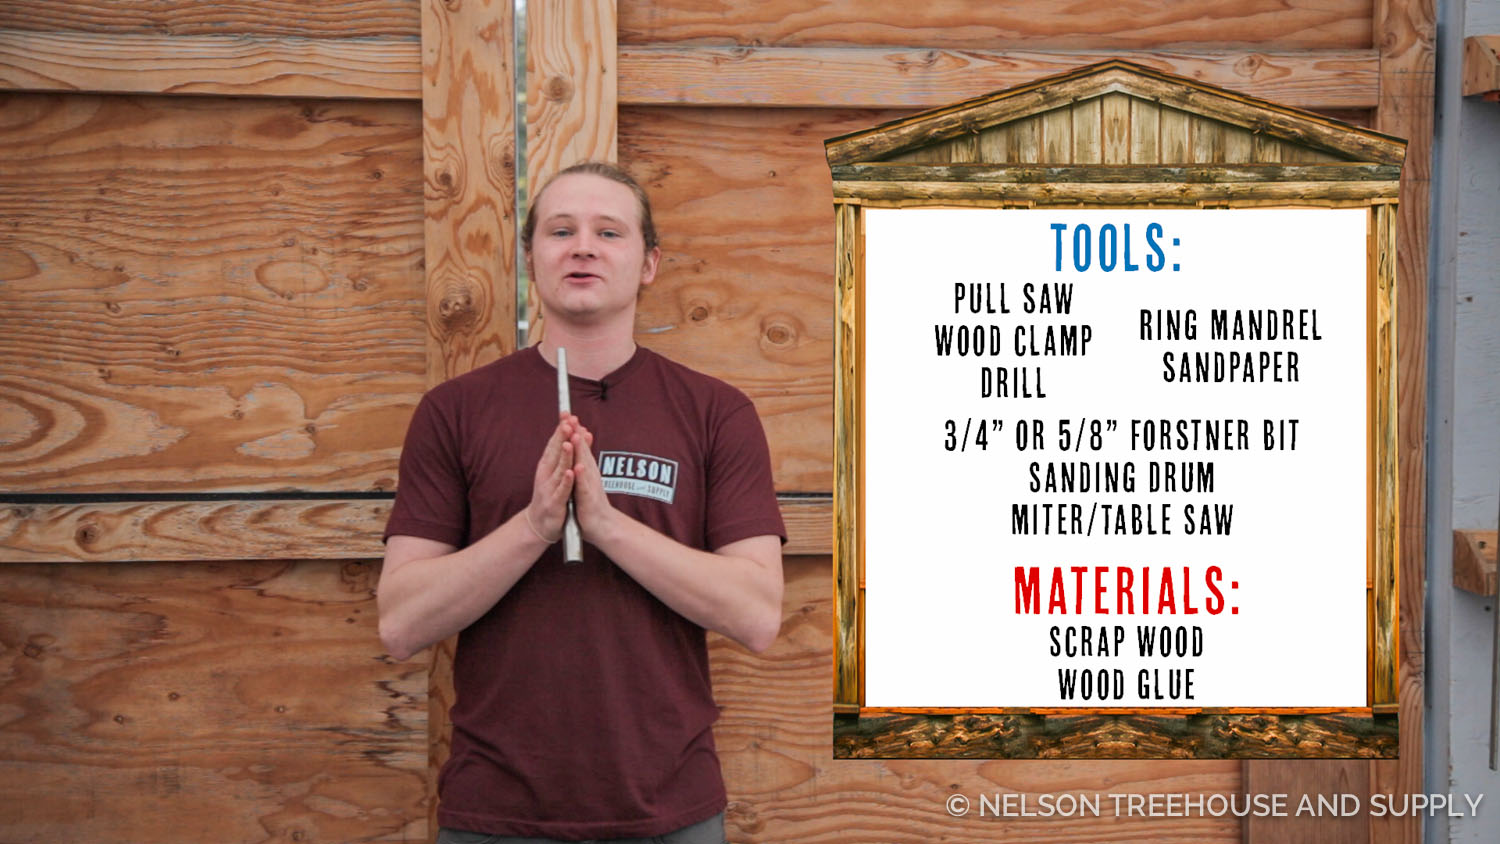
Pull Saw
Wood Clamp
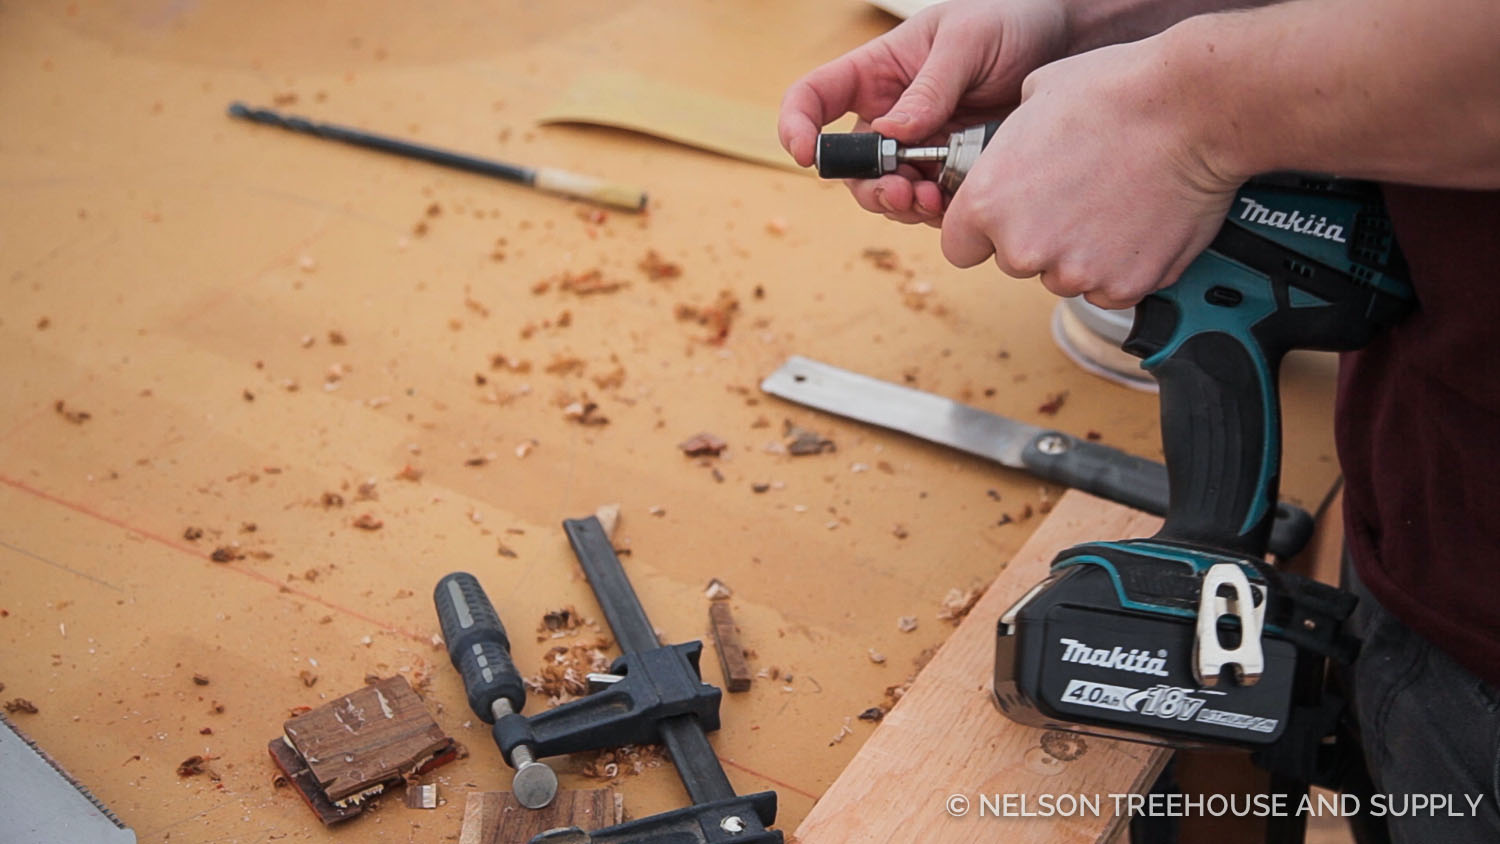
Drill
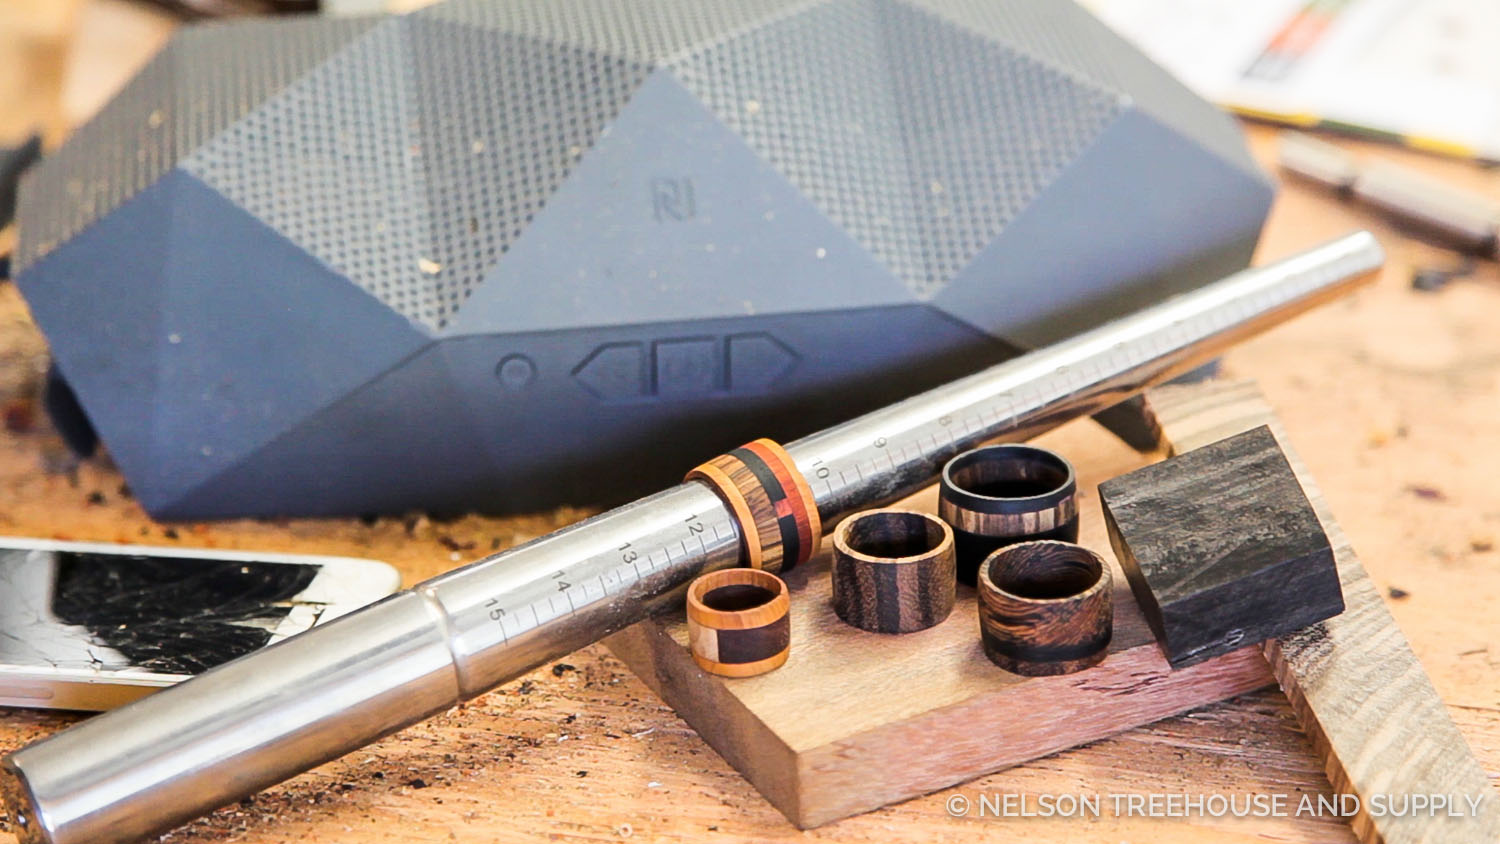
Ring Mandrel
Sandpaper
3/4″ or 5/8″ Forstner Bit
Sanding Drum
Miter/Table Saw
Scrap Wood
Wood Glue
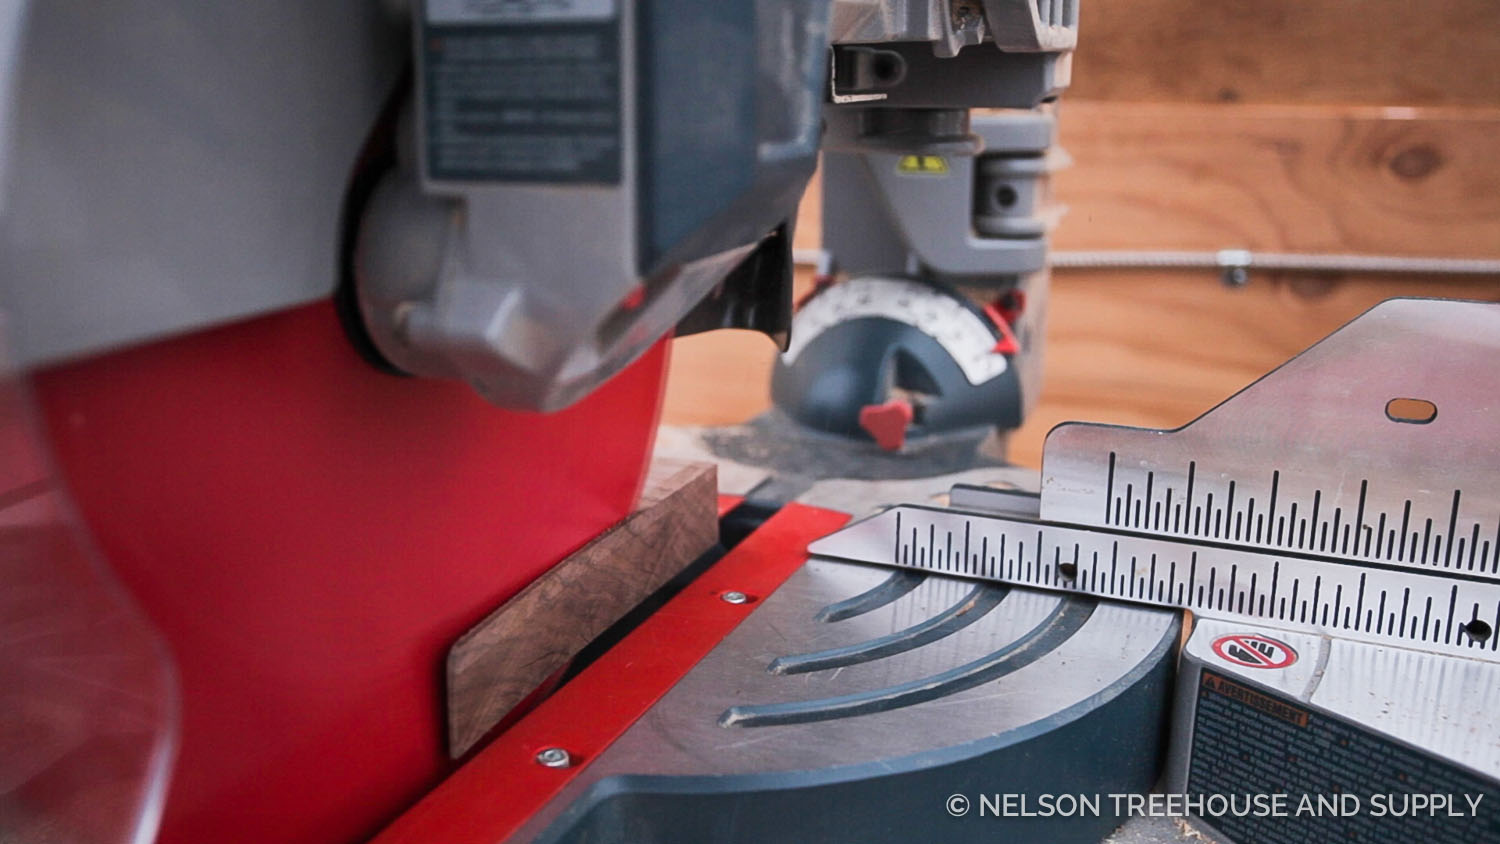
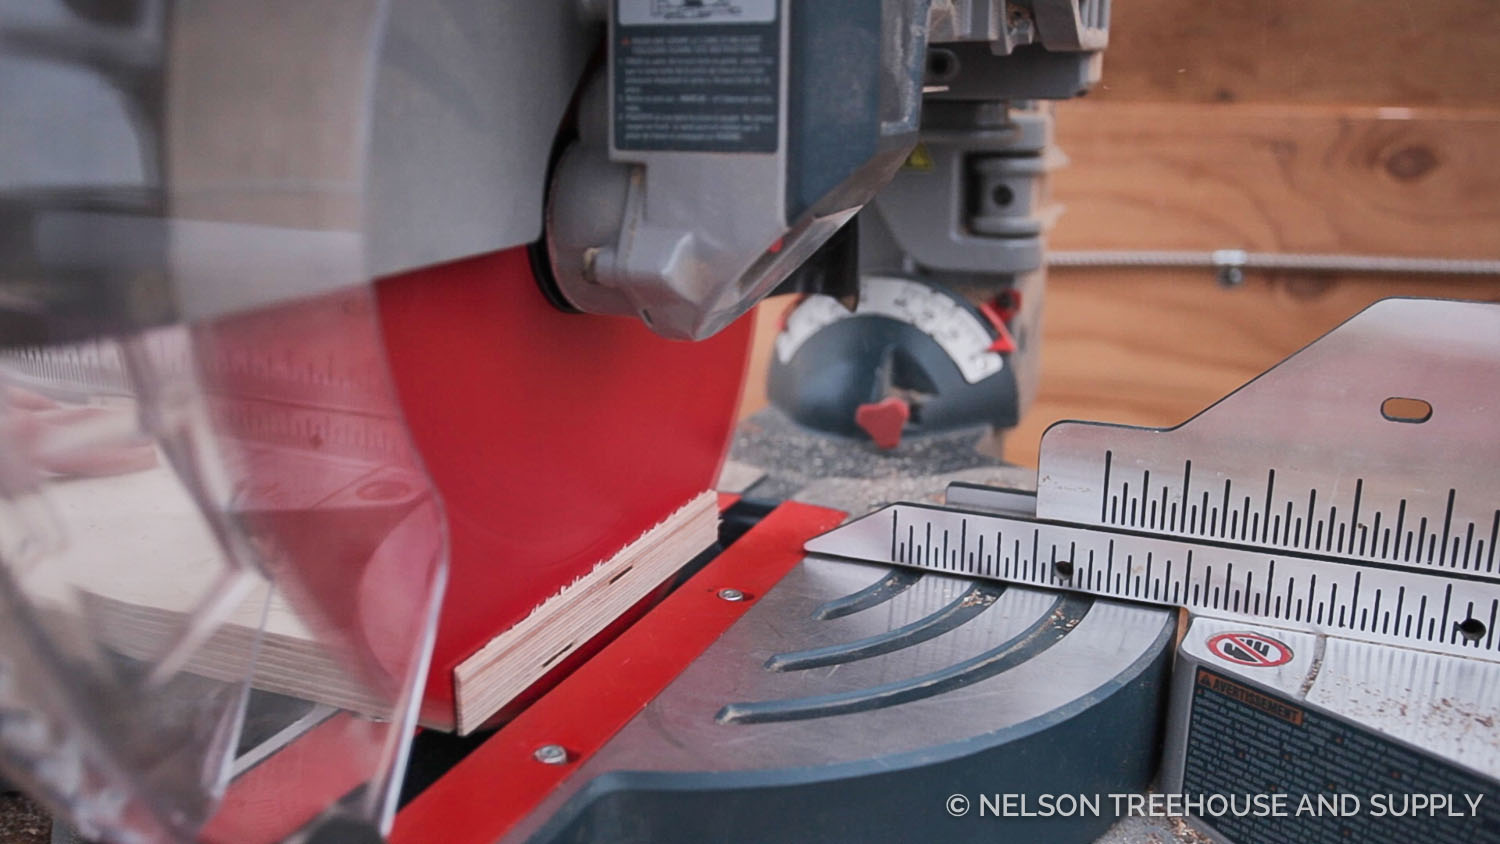
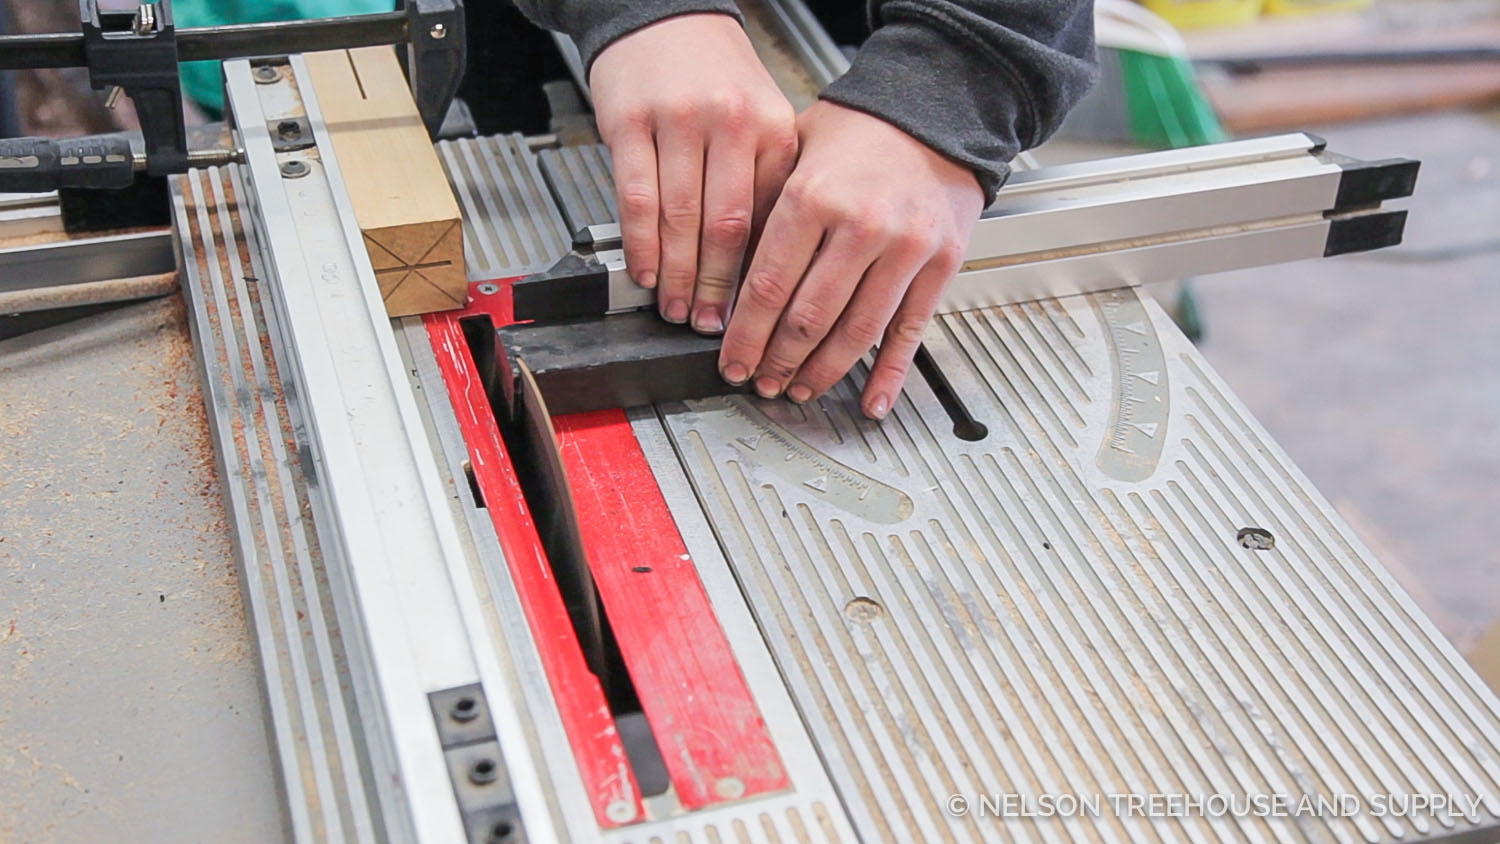
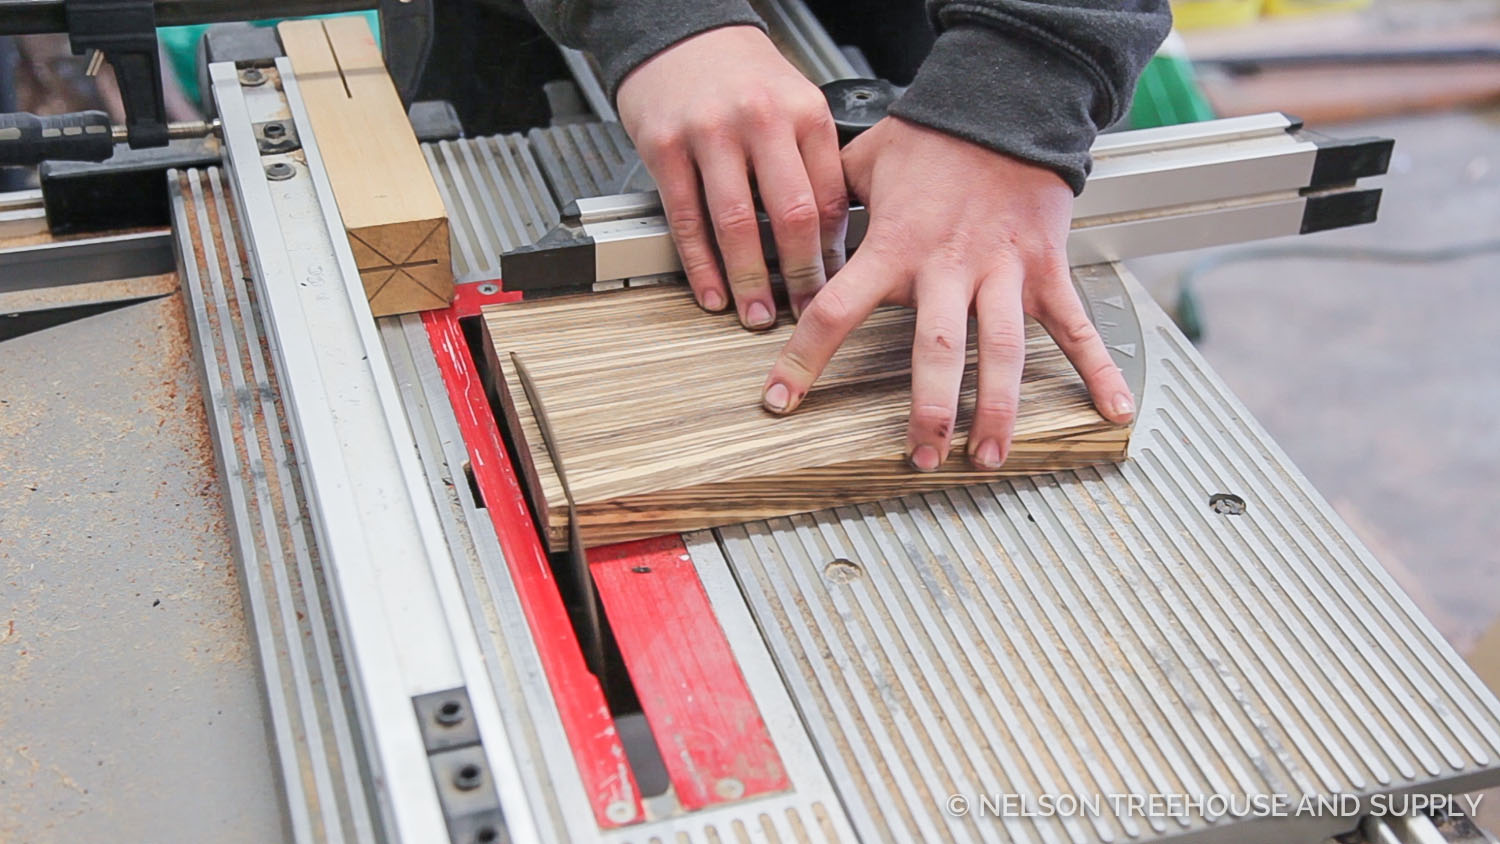
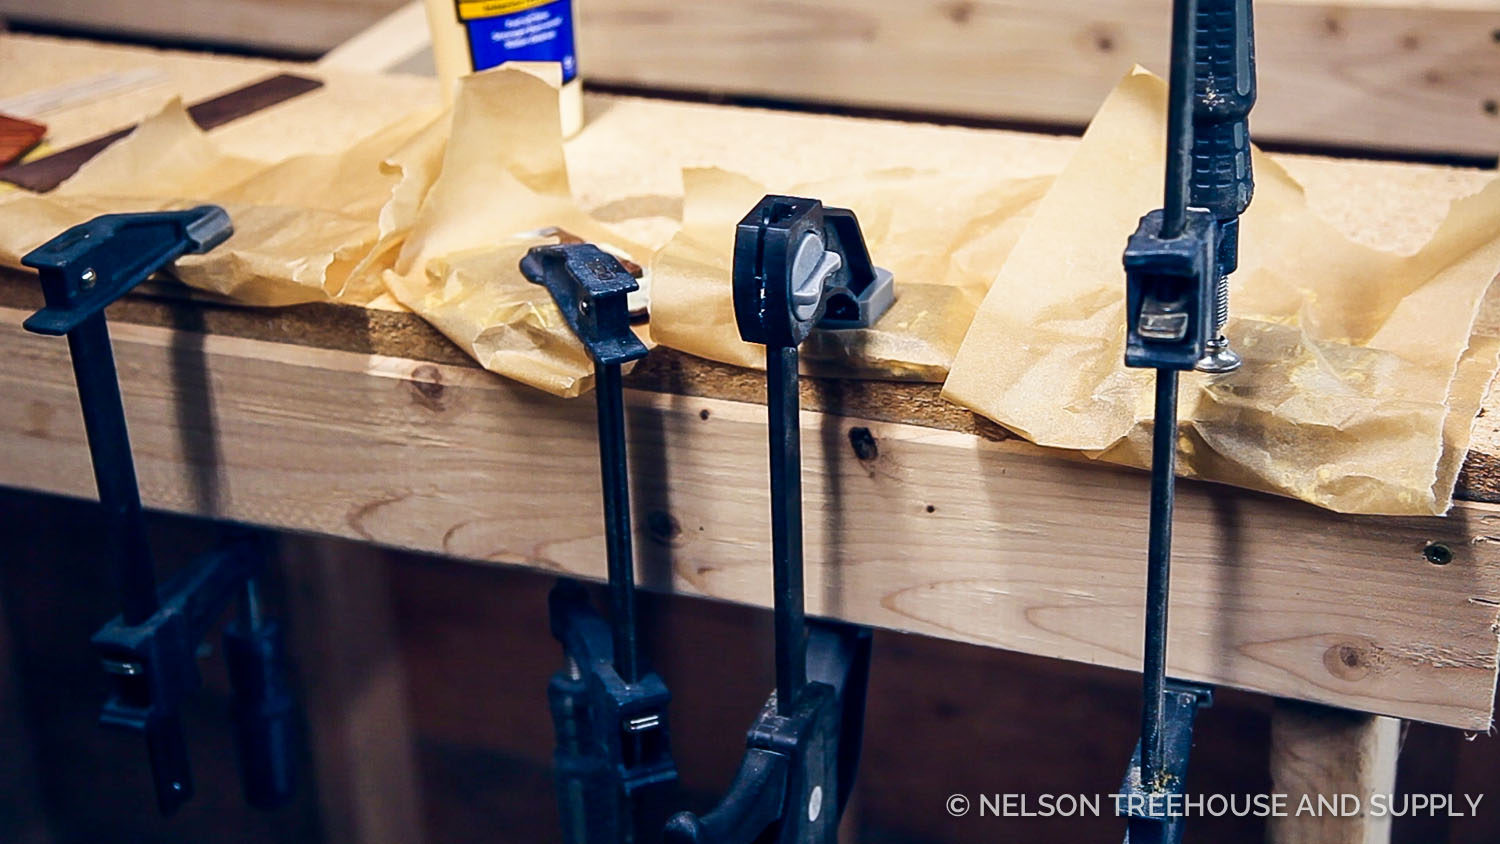
Using a miter or table saw, cut thin slices of scrap wood.
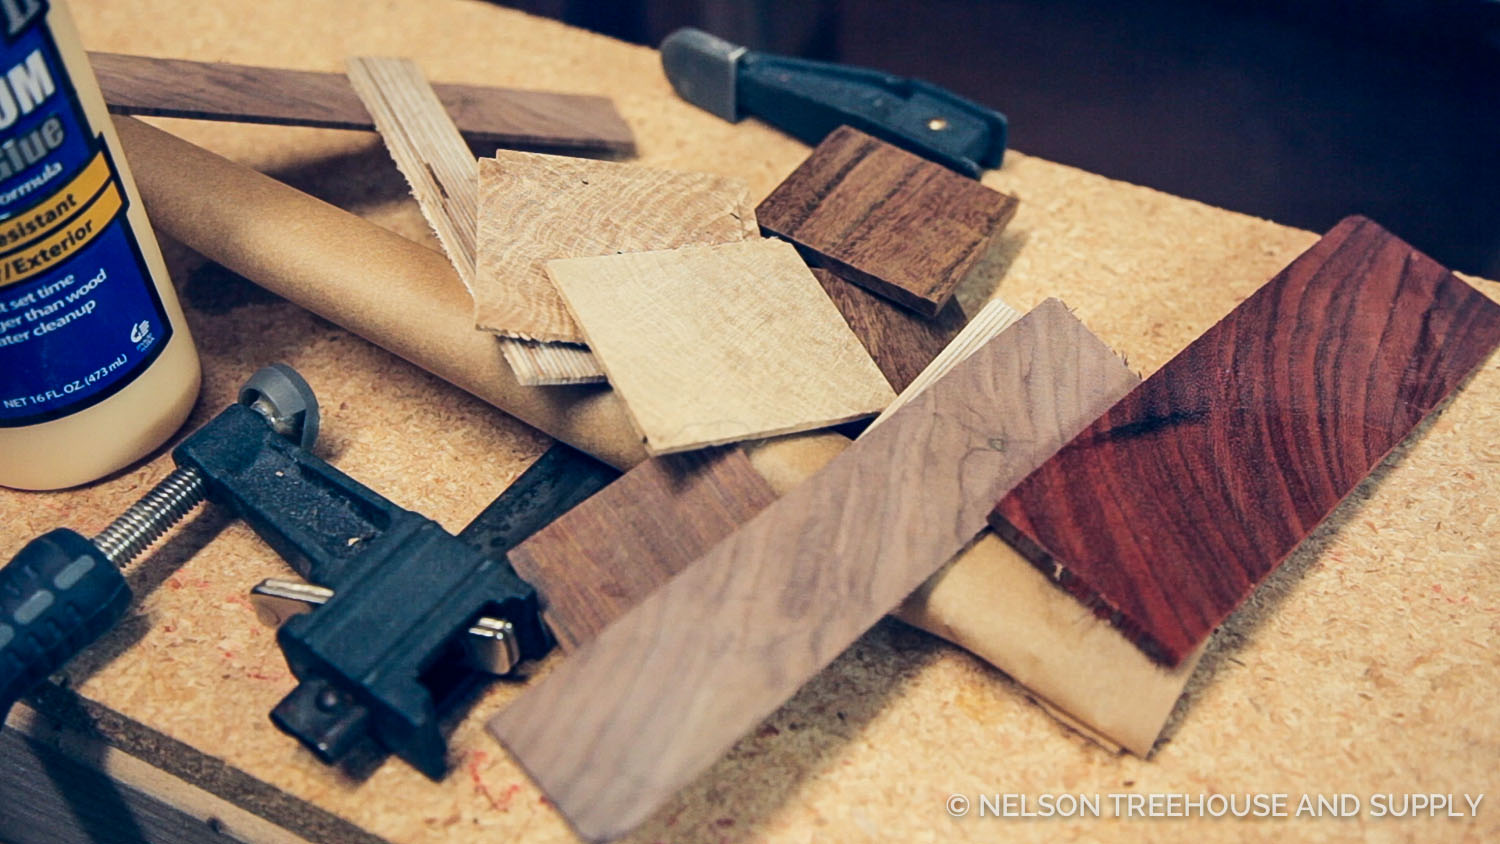
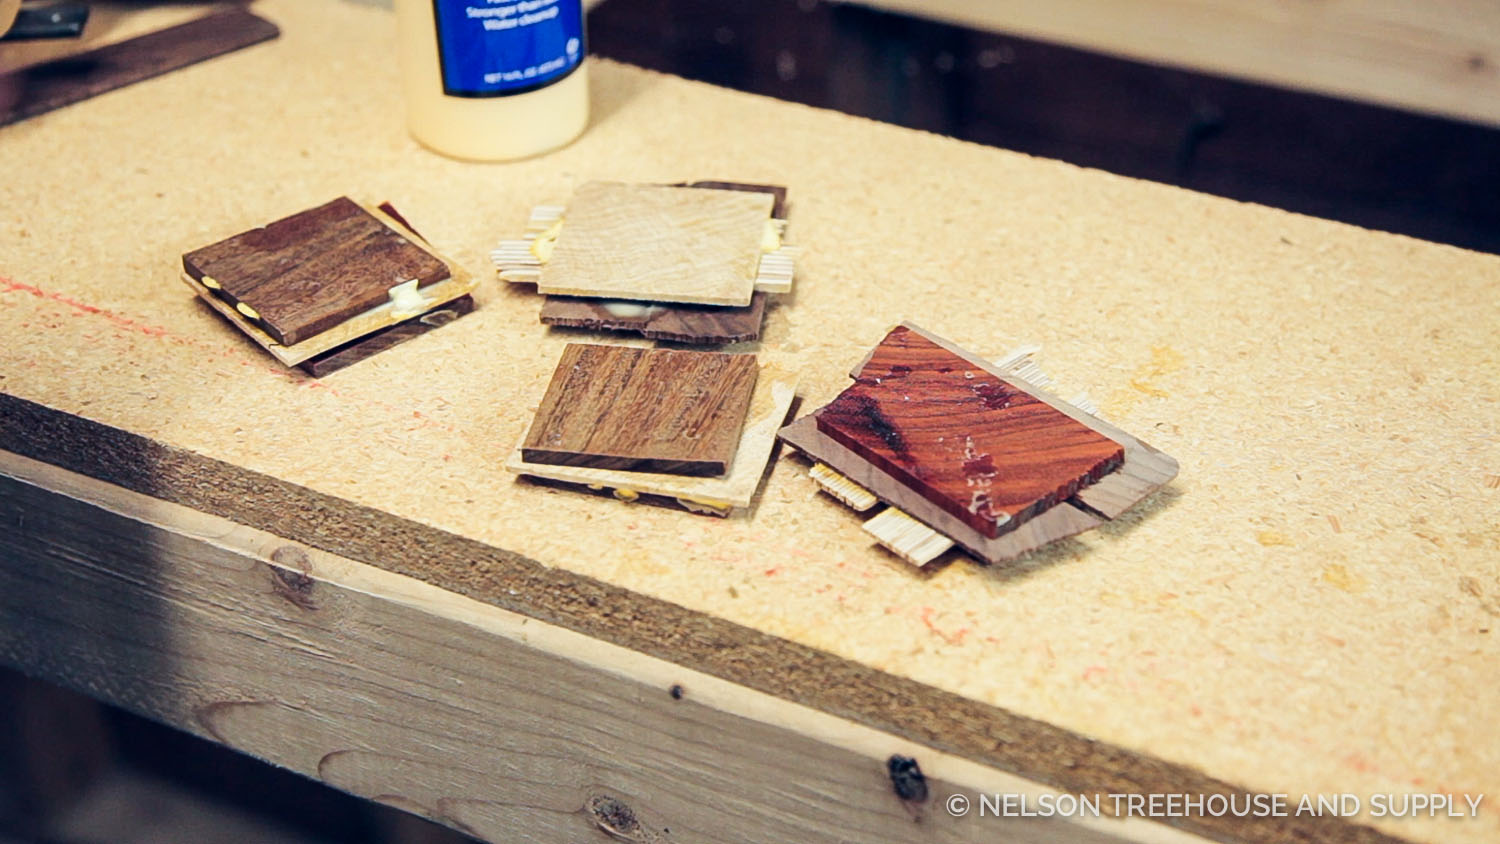
Coat each side of the thin slices with wood glue and stack different color layers on top of each other. Make a handful of different stacks in case you break the ring or dislike the final outcome! Secure using wood clamps and let dry overnight.

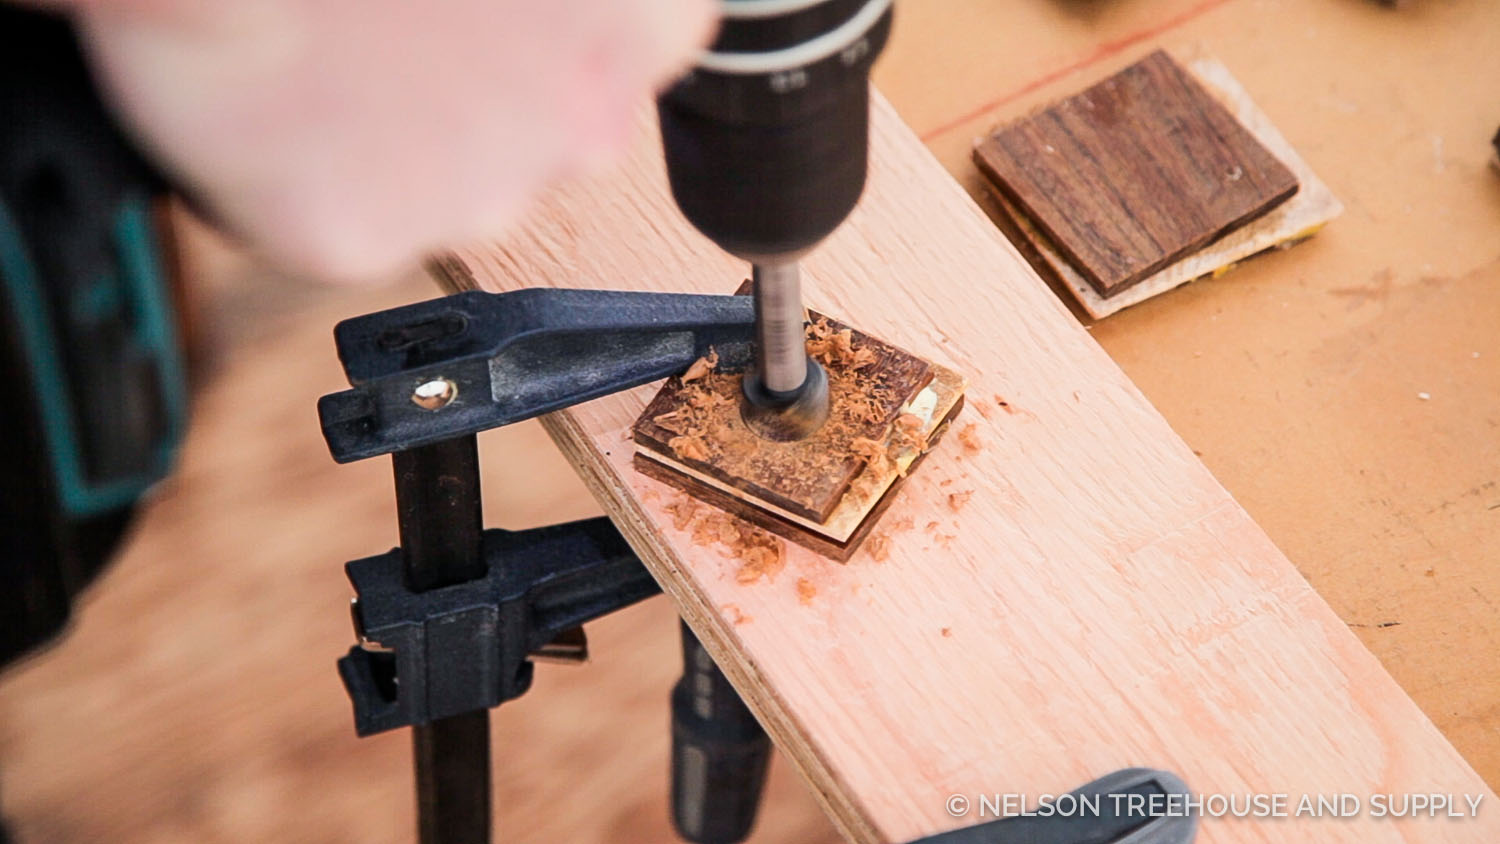
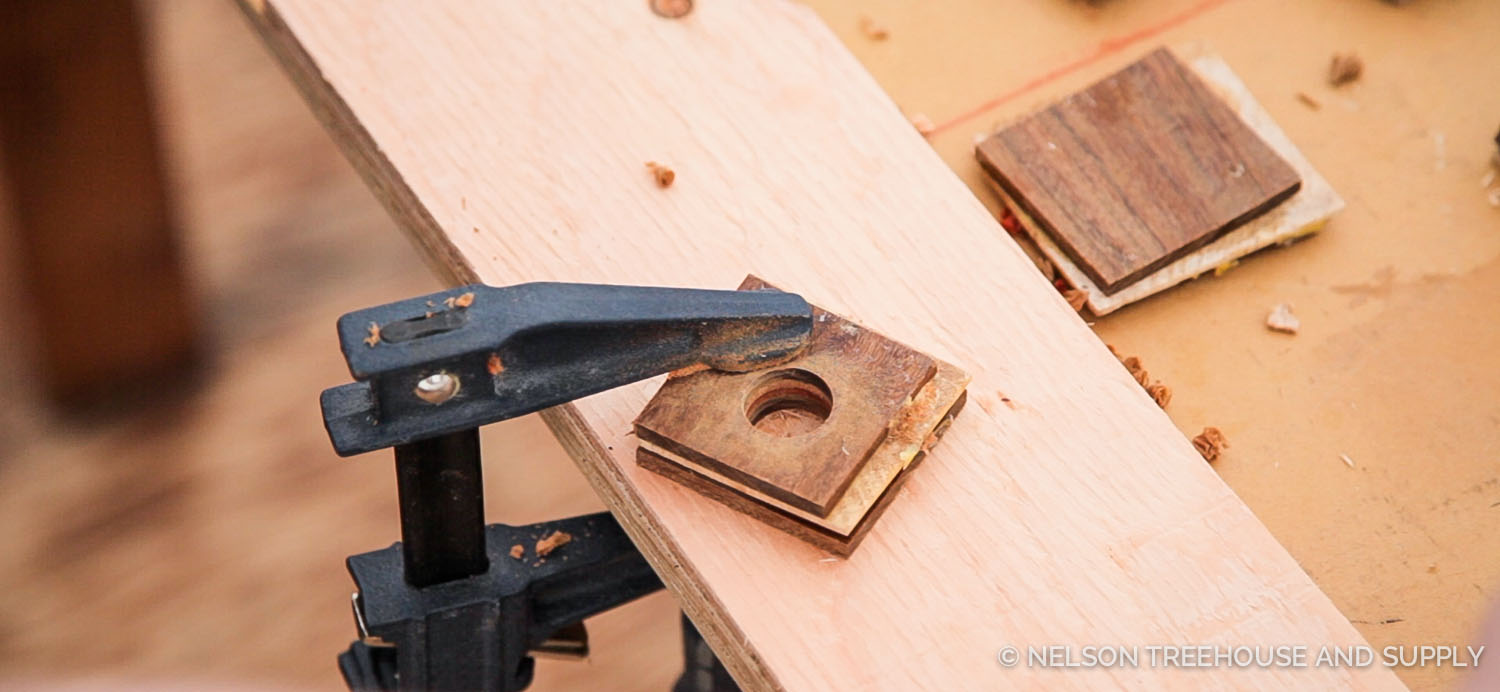
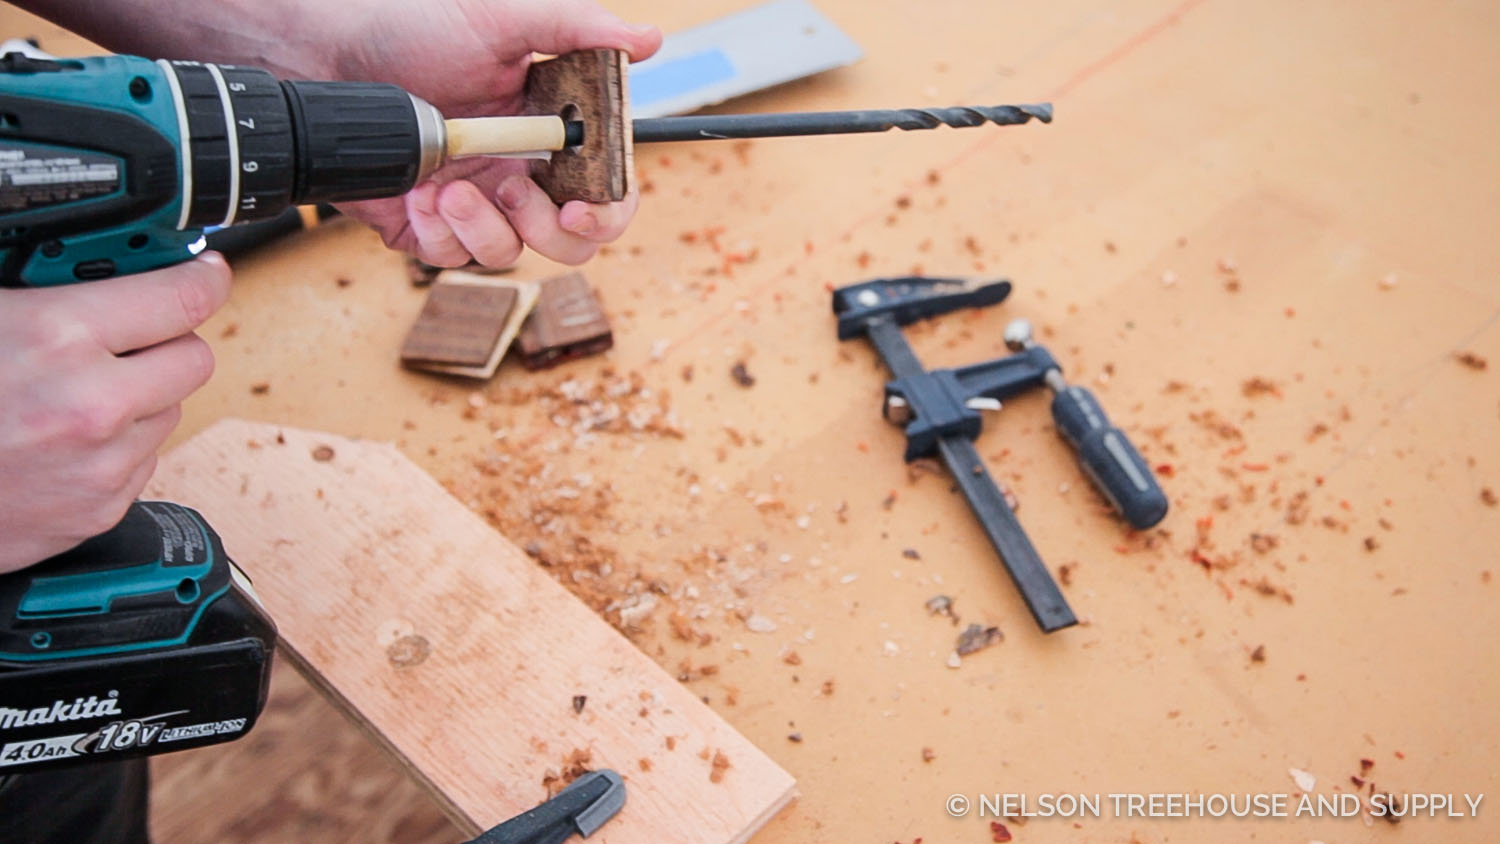
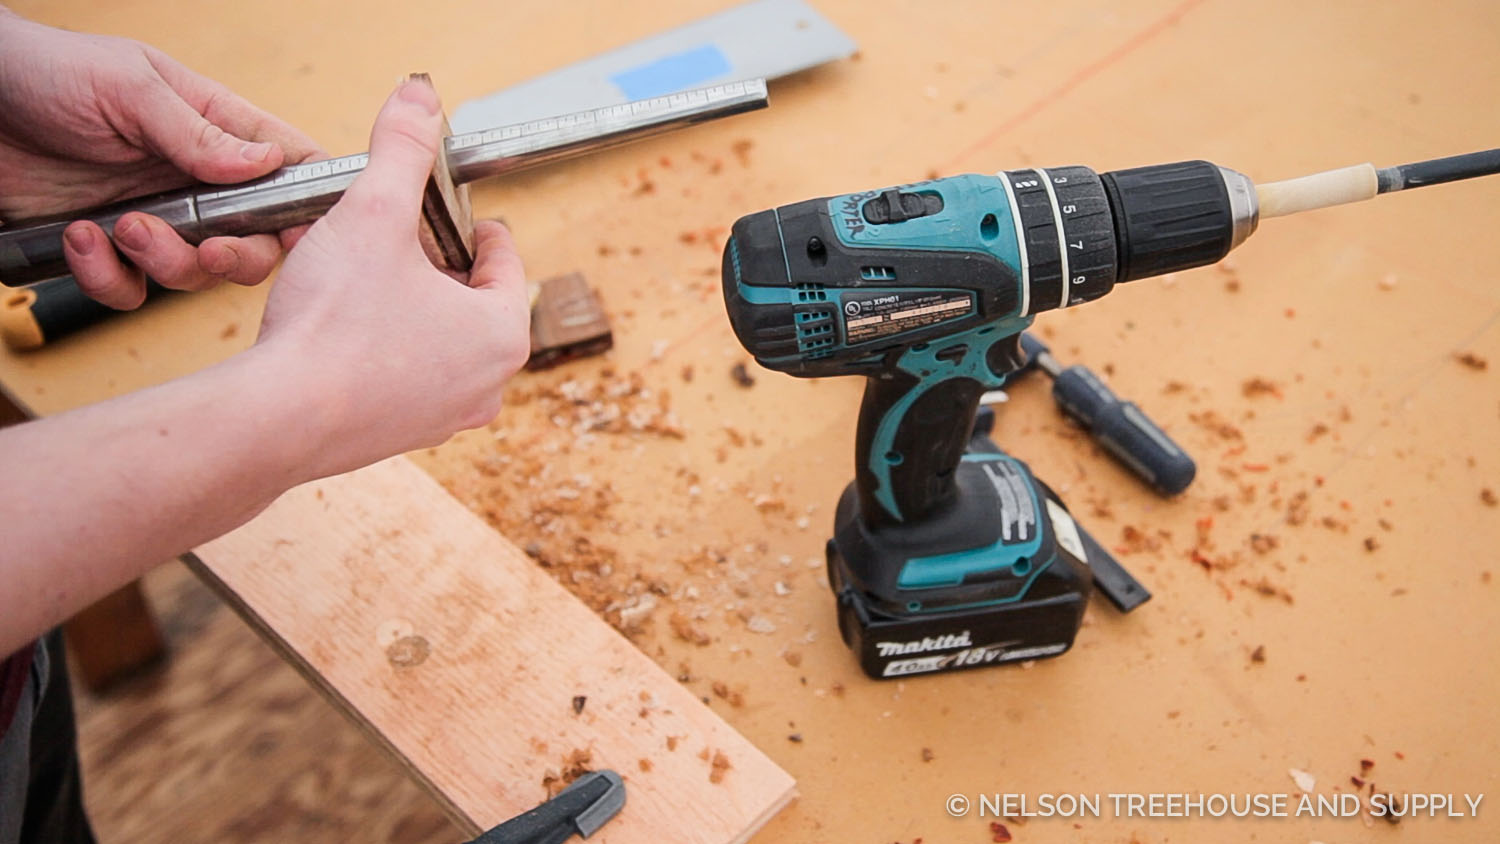
Use a 3/4″ forstner bit for large fingers, and a 5/8″ forstner bit for small fingers. Drill the inner hole.
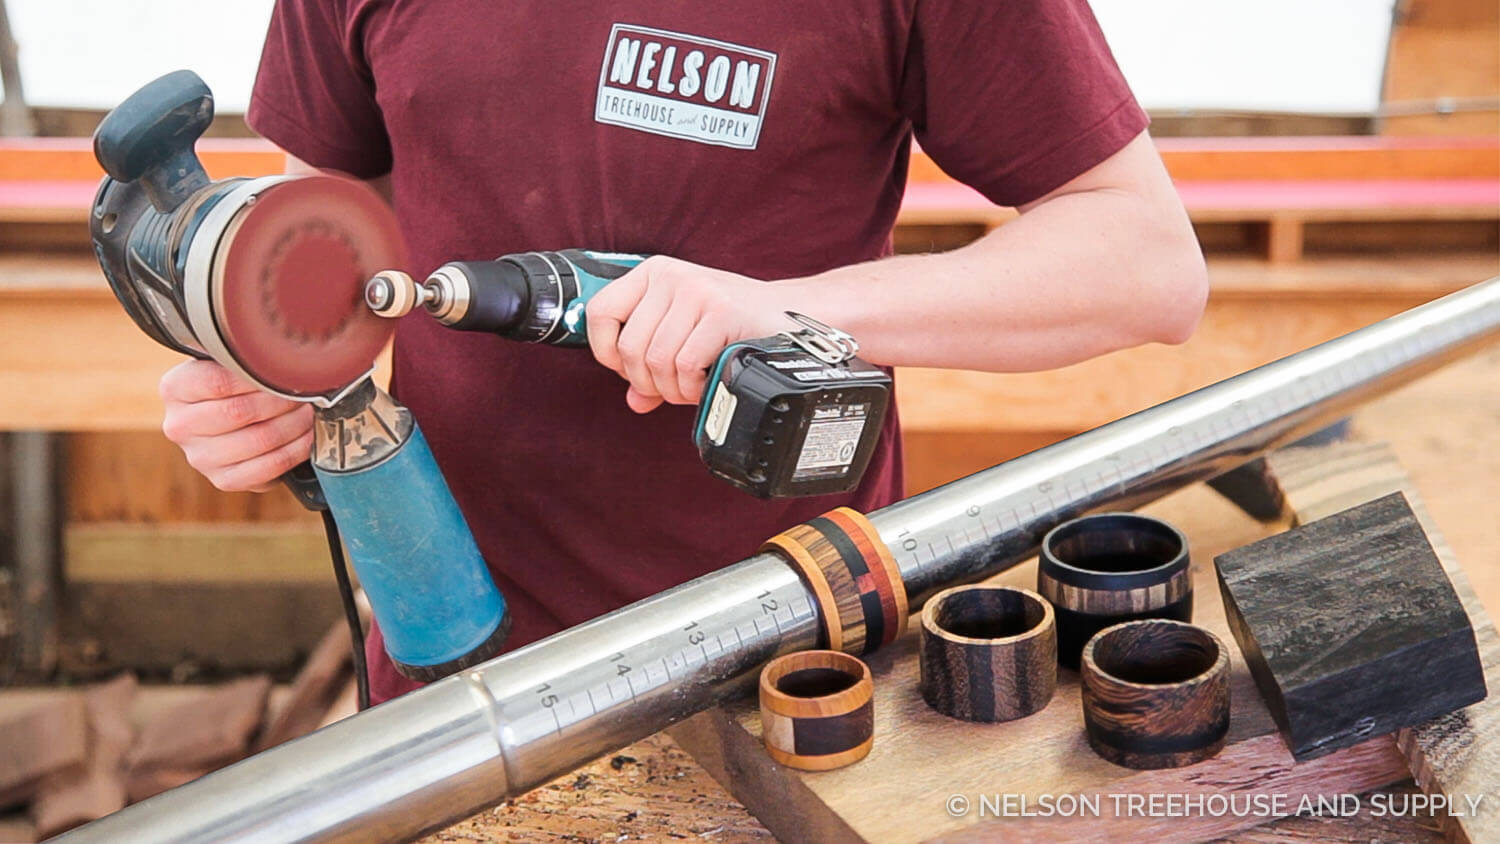
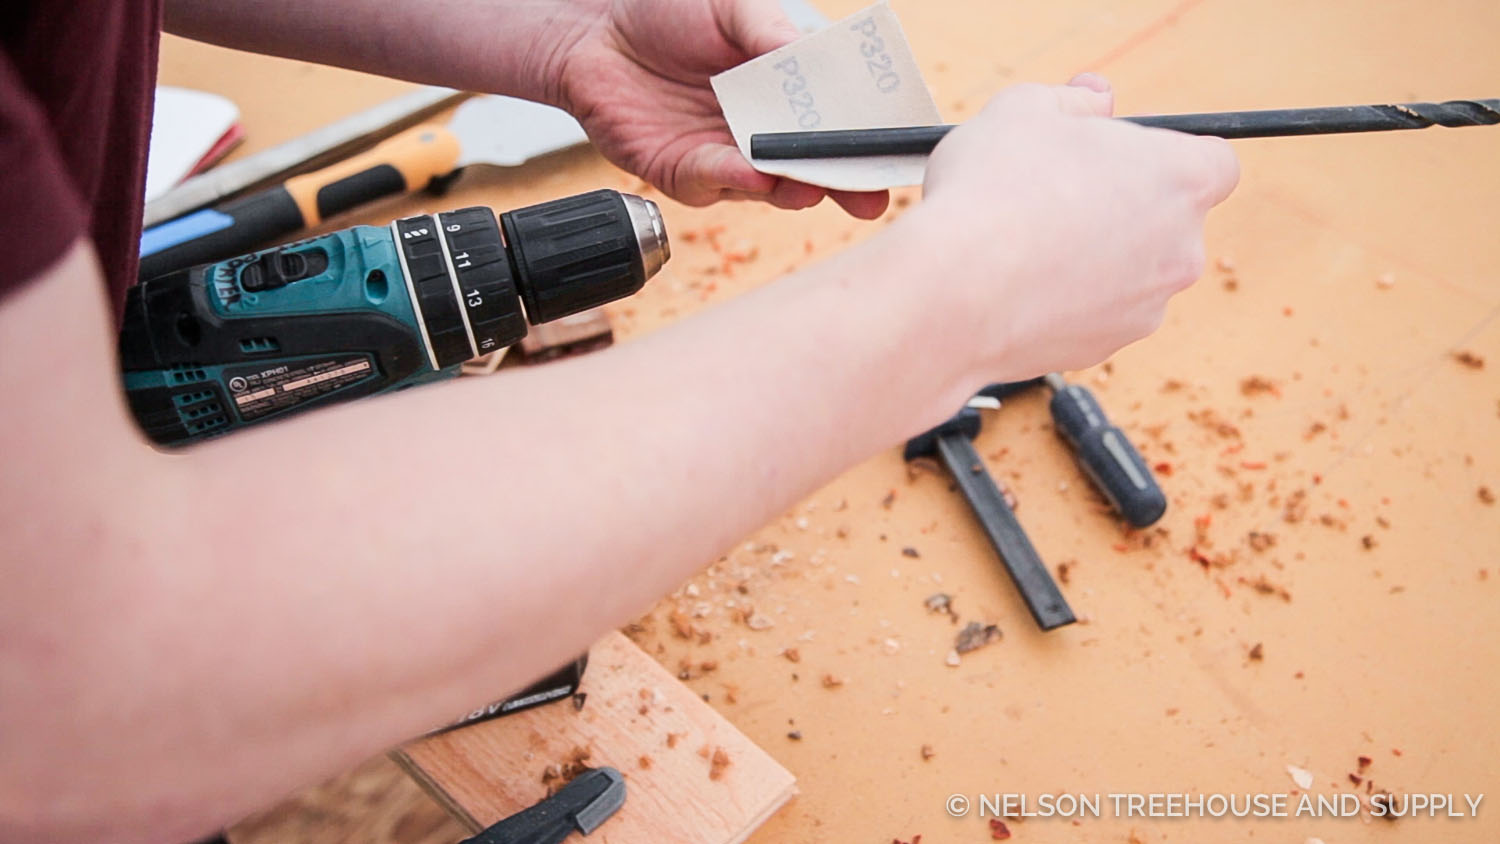
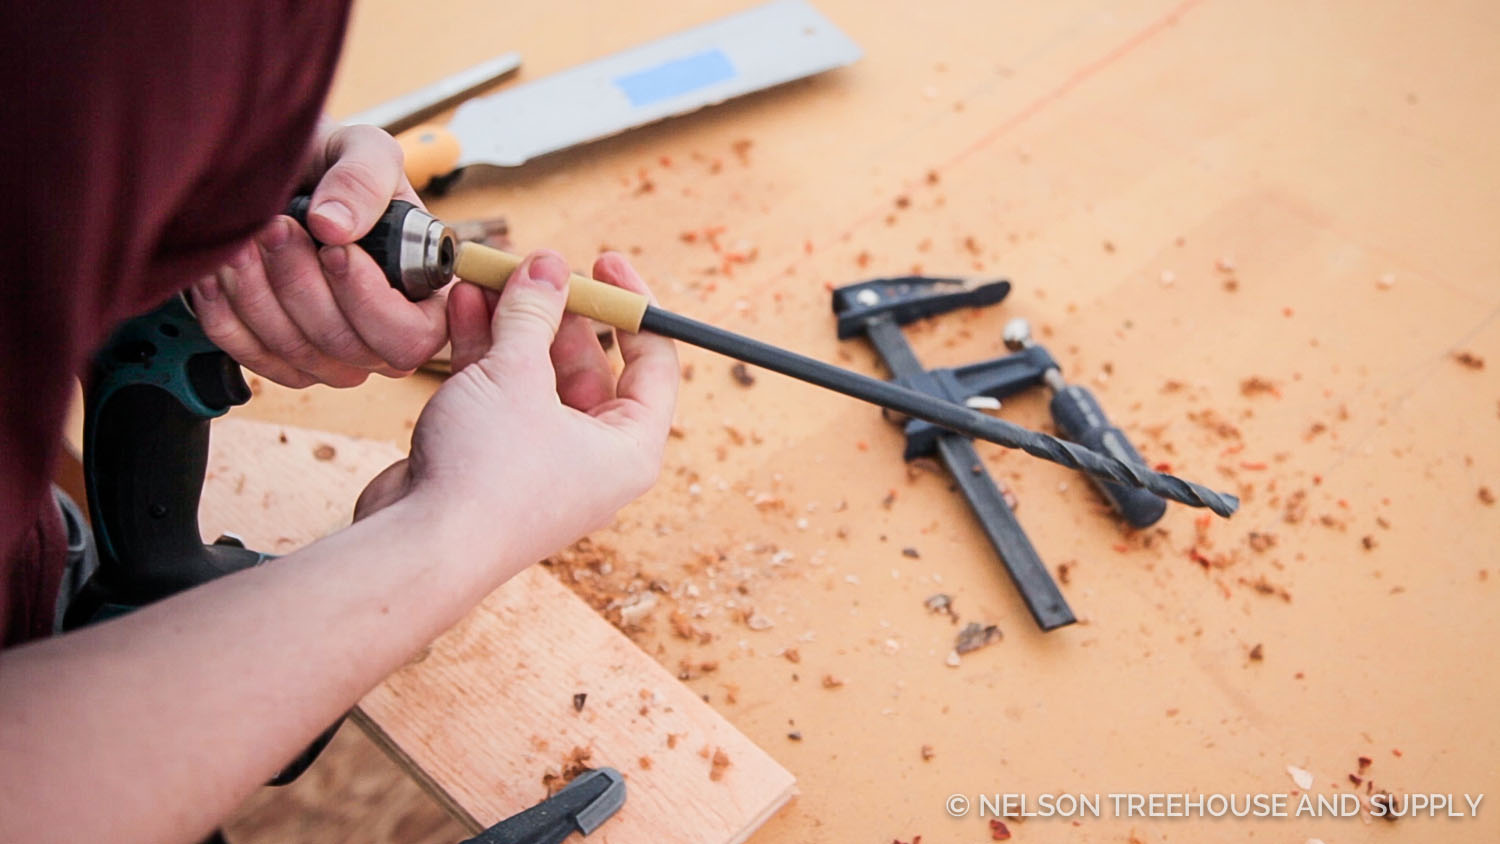
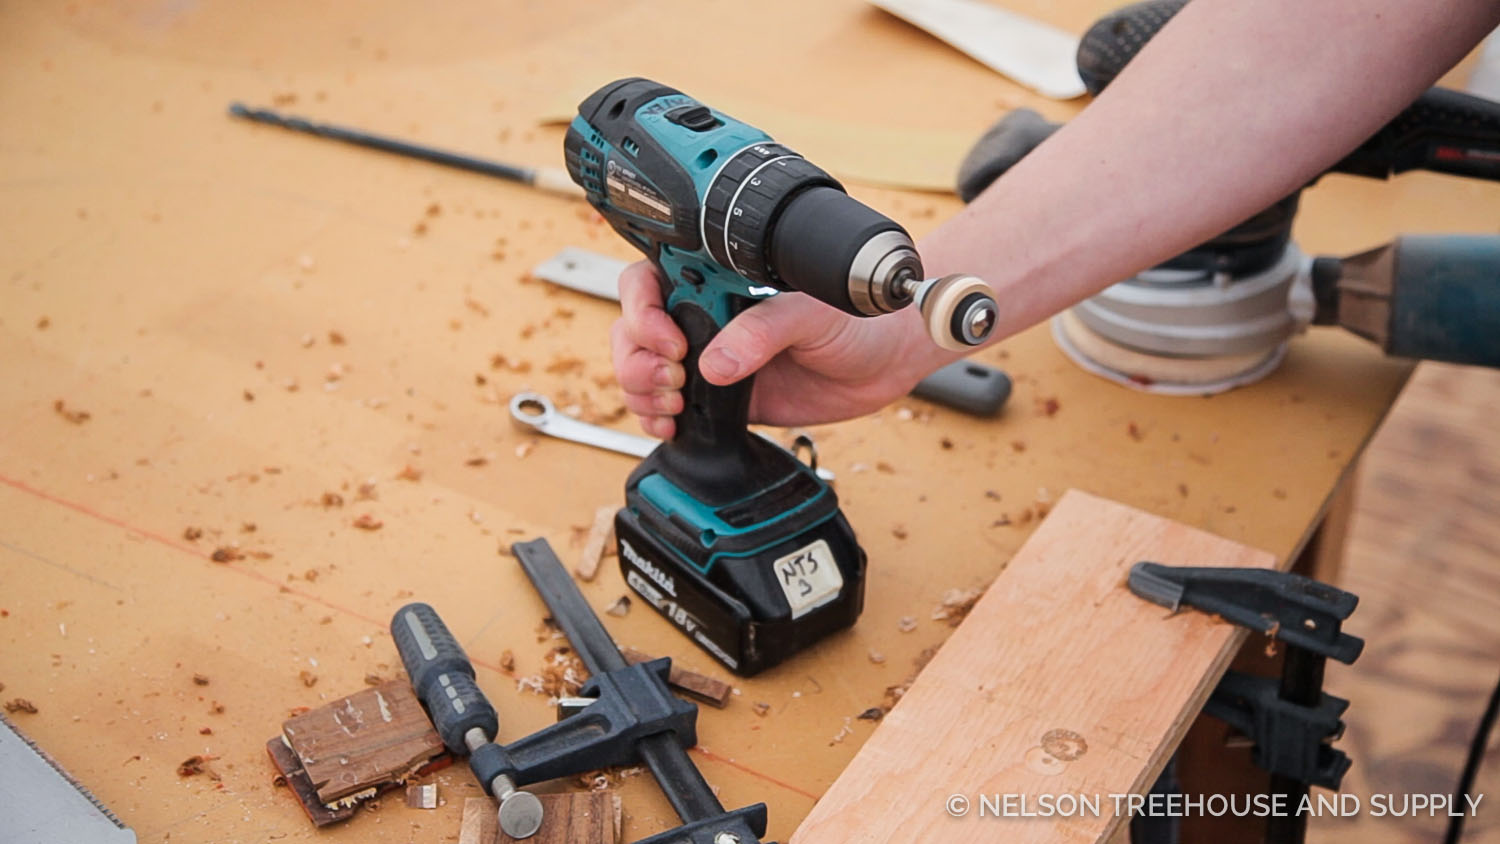
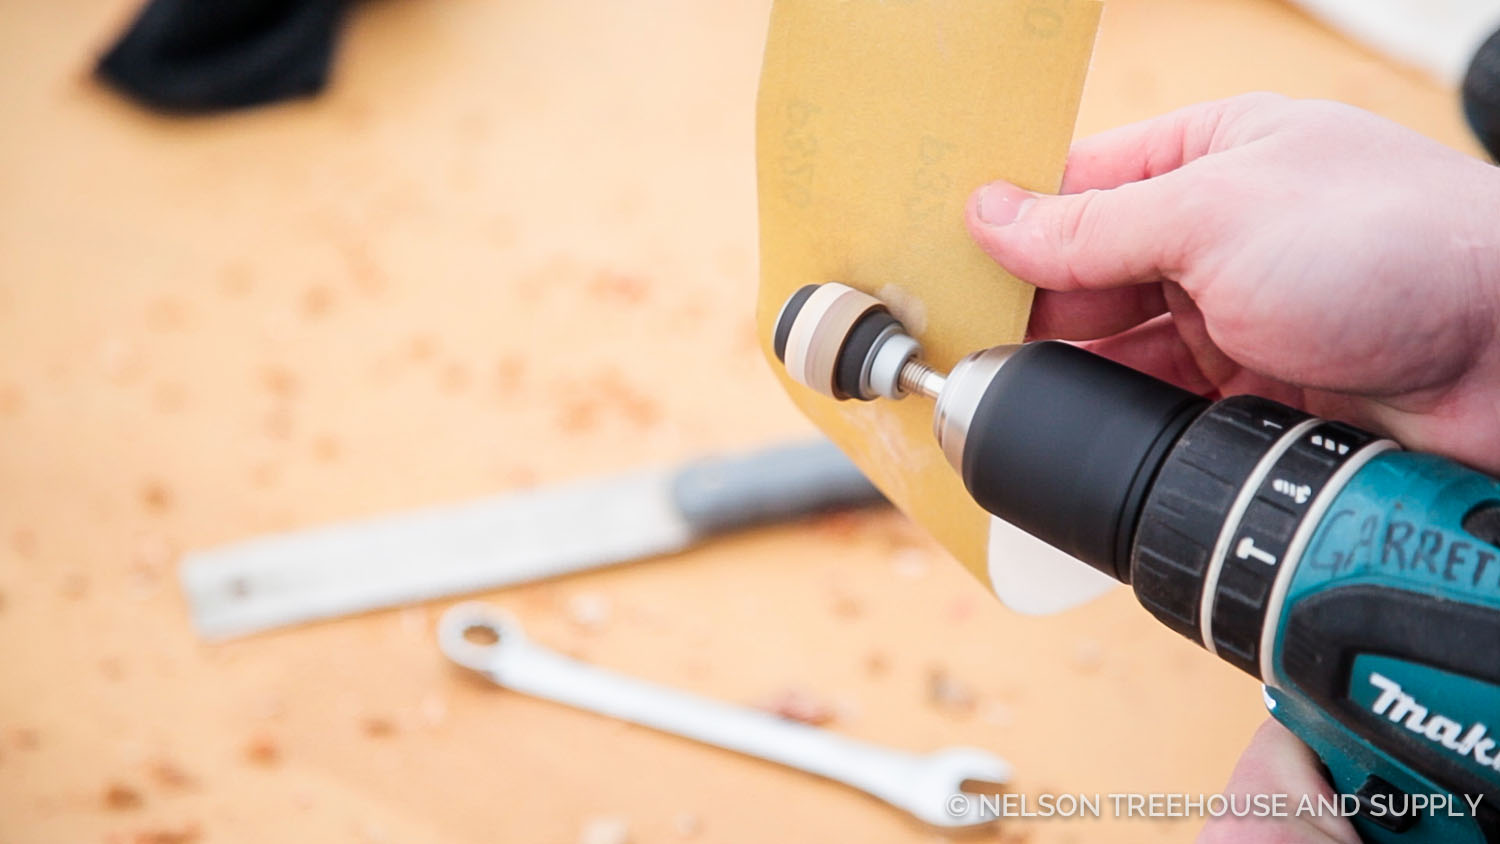
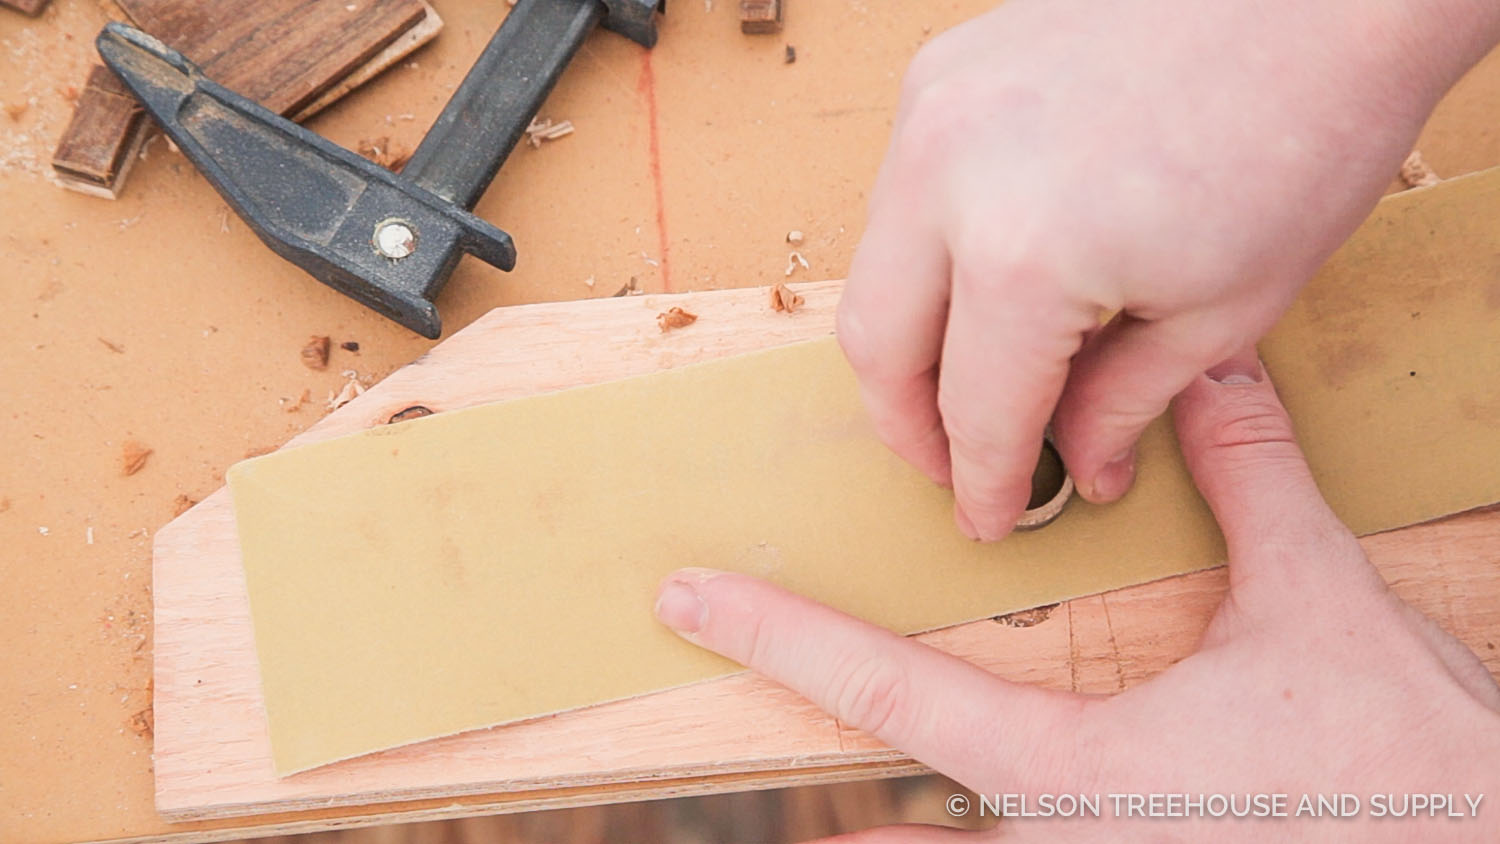
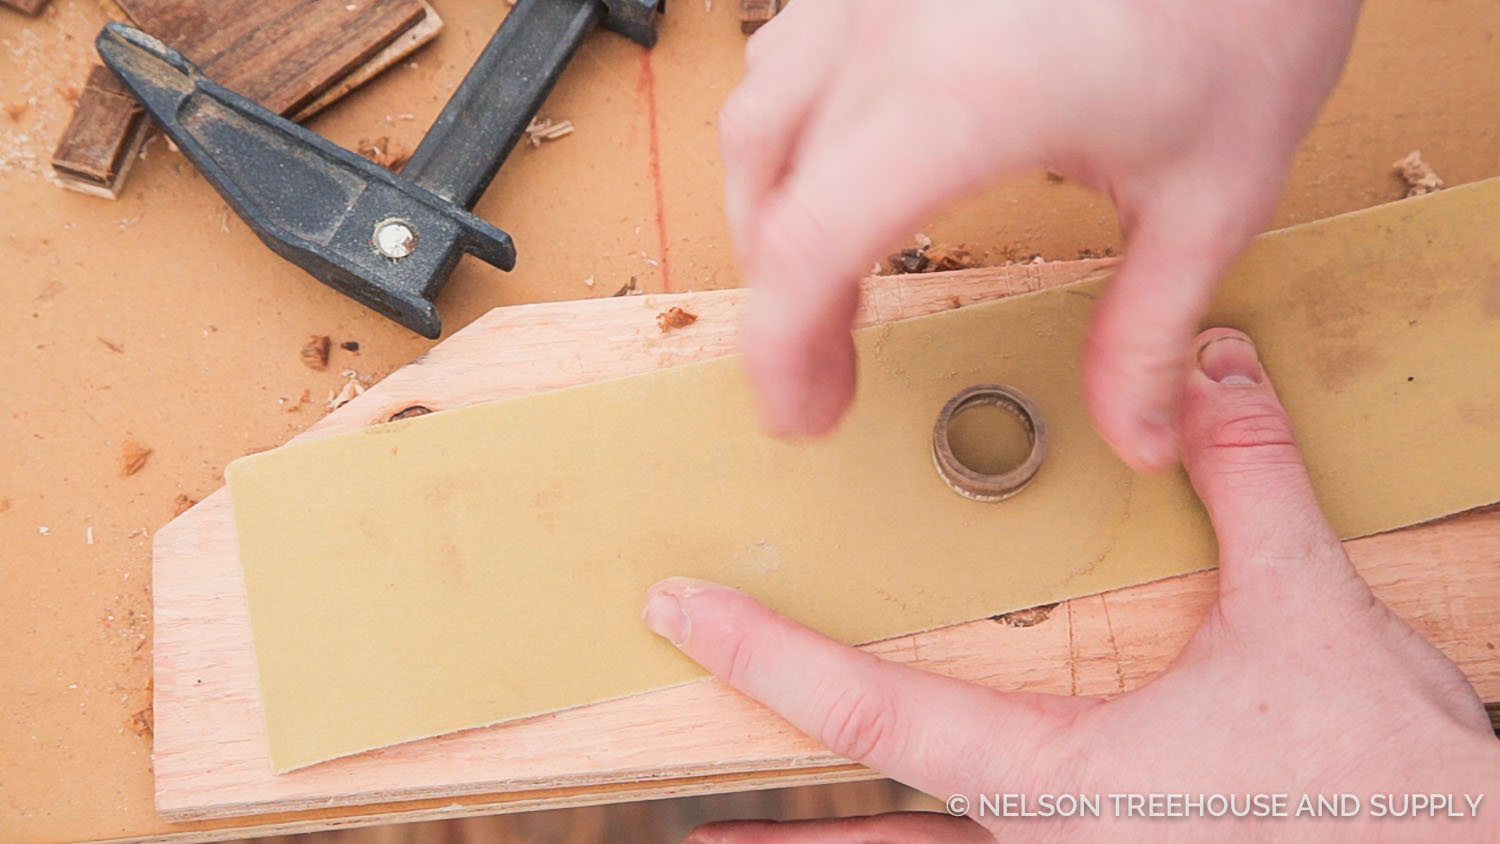
Wrap a piece of sandpaper around a bit, and lock it into the drill. Use this to bore out the inside of the ring to the desired ring size. This can take some time, so be patient!
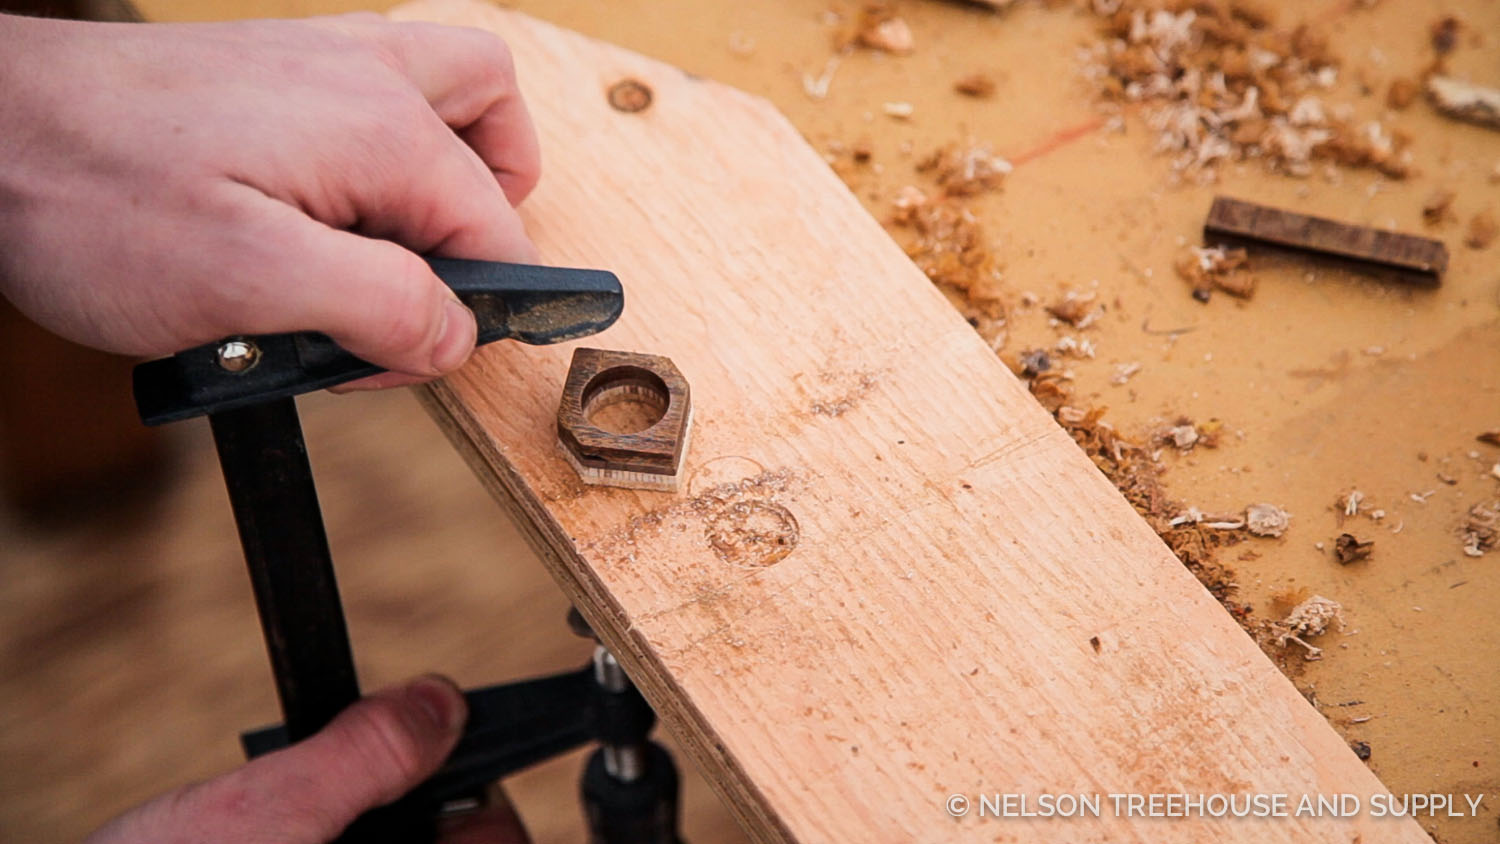
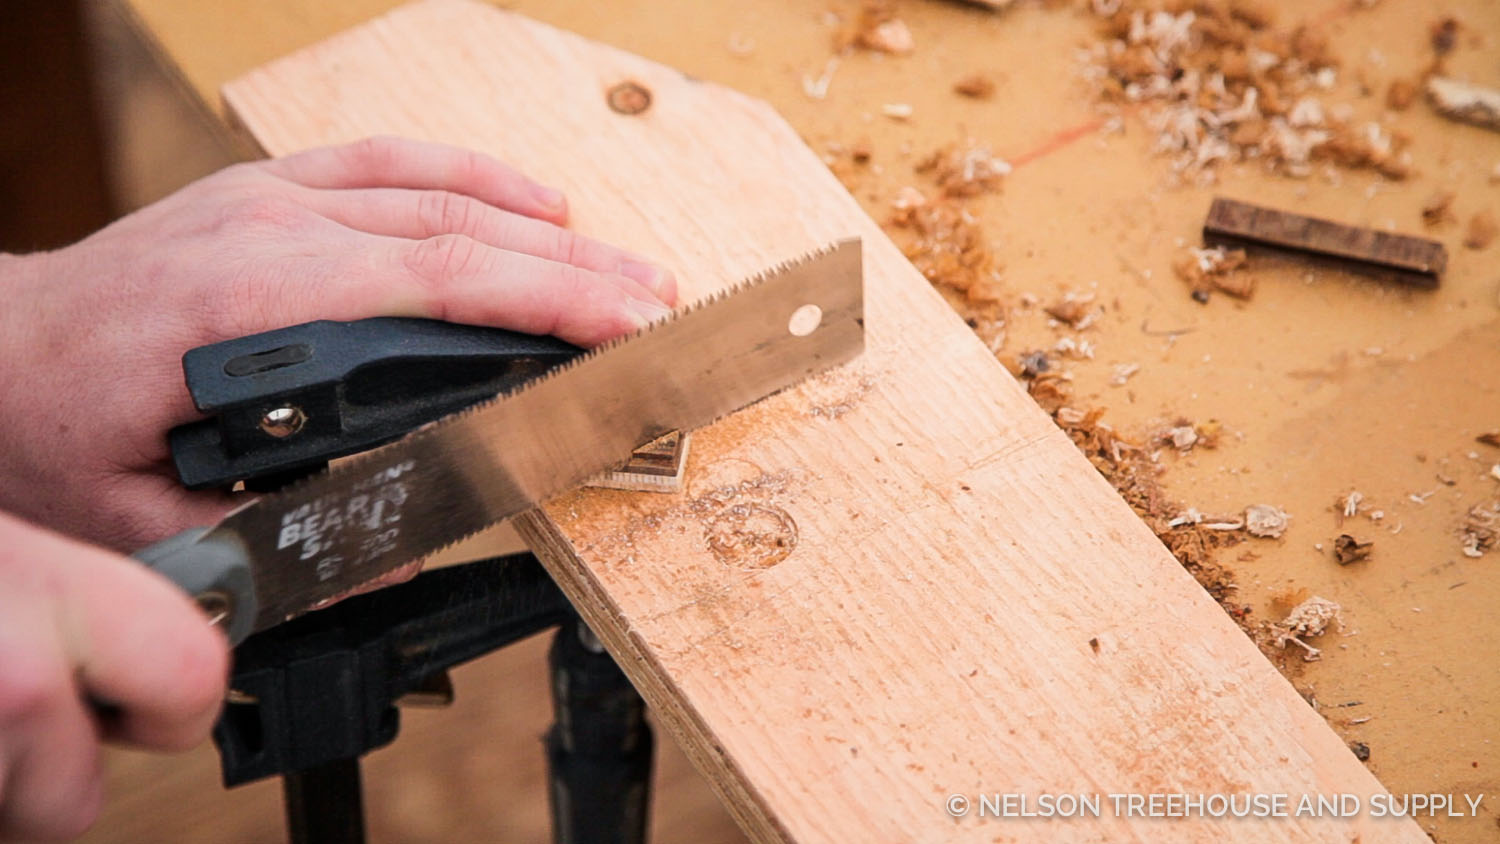
Use a pull saw and wood clamp to remove excess material around the exterior of the ring, shaping it into a rough octagon.
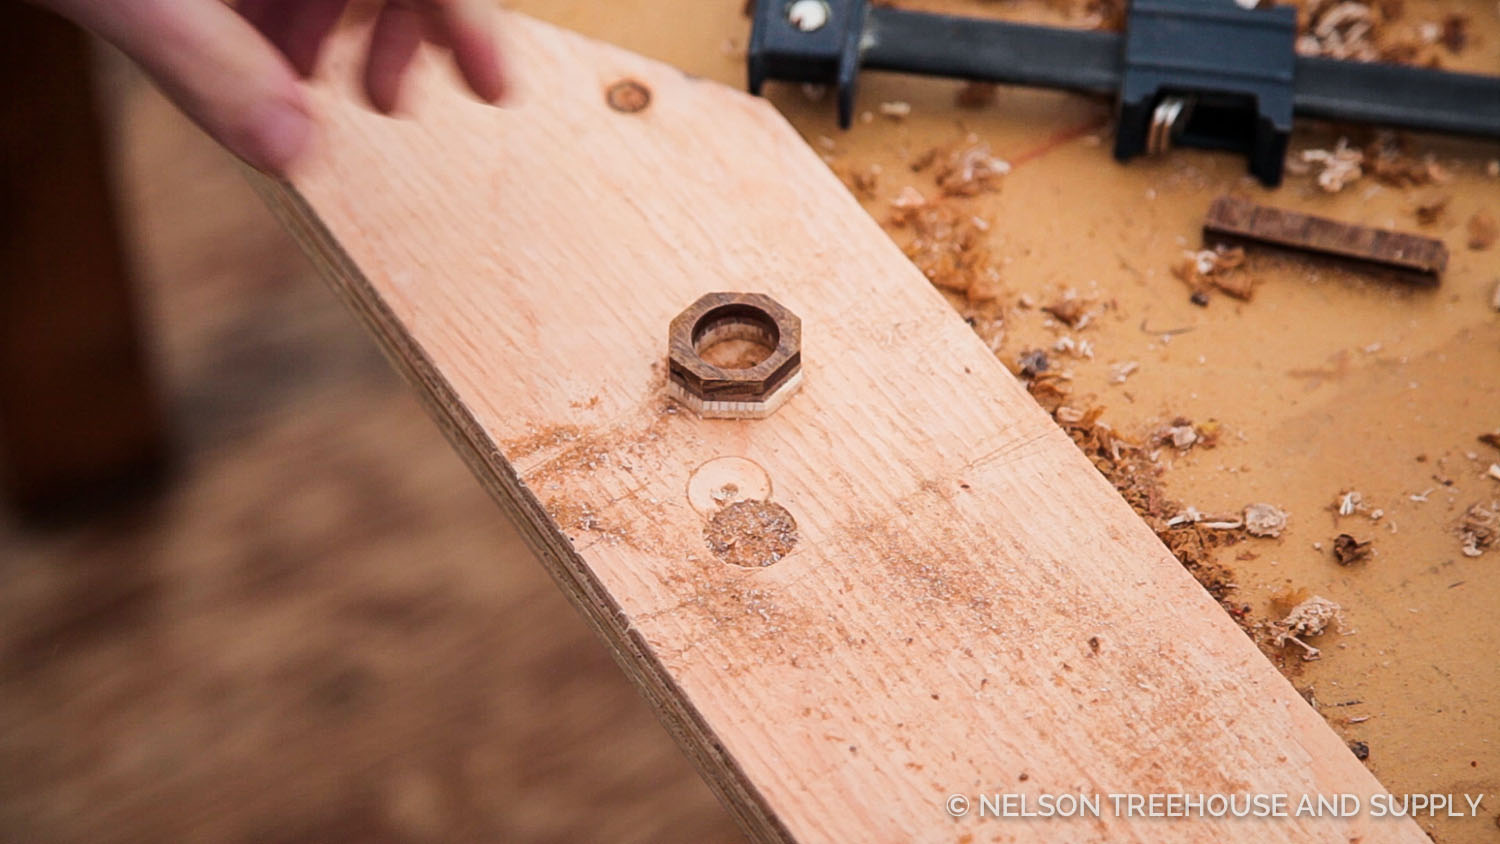
Knock off the corners using a palm sander; the closer you get to a circle, the easier the next step will be!

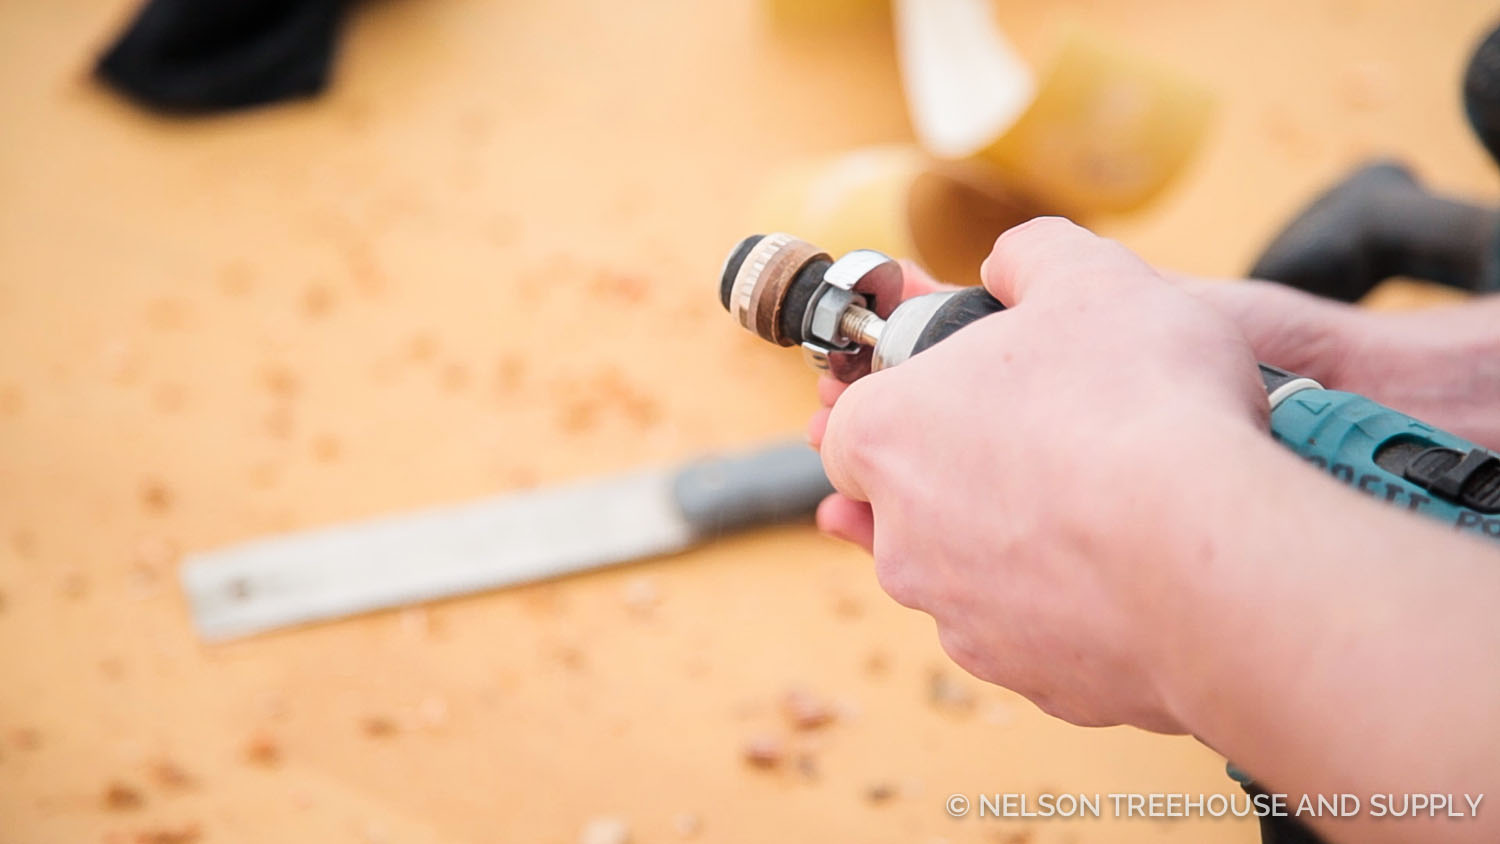
This is a sanding drum; it comes with specialty sandpaper that fits the circumference of the drum. We’re going to ditch the sandpaper and slip the ring over the rubber drum. Tightening the nut will cause the rubber to expand, locking the ring onto the drum.
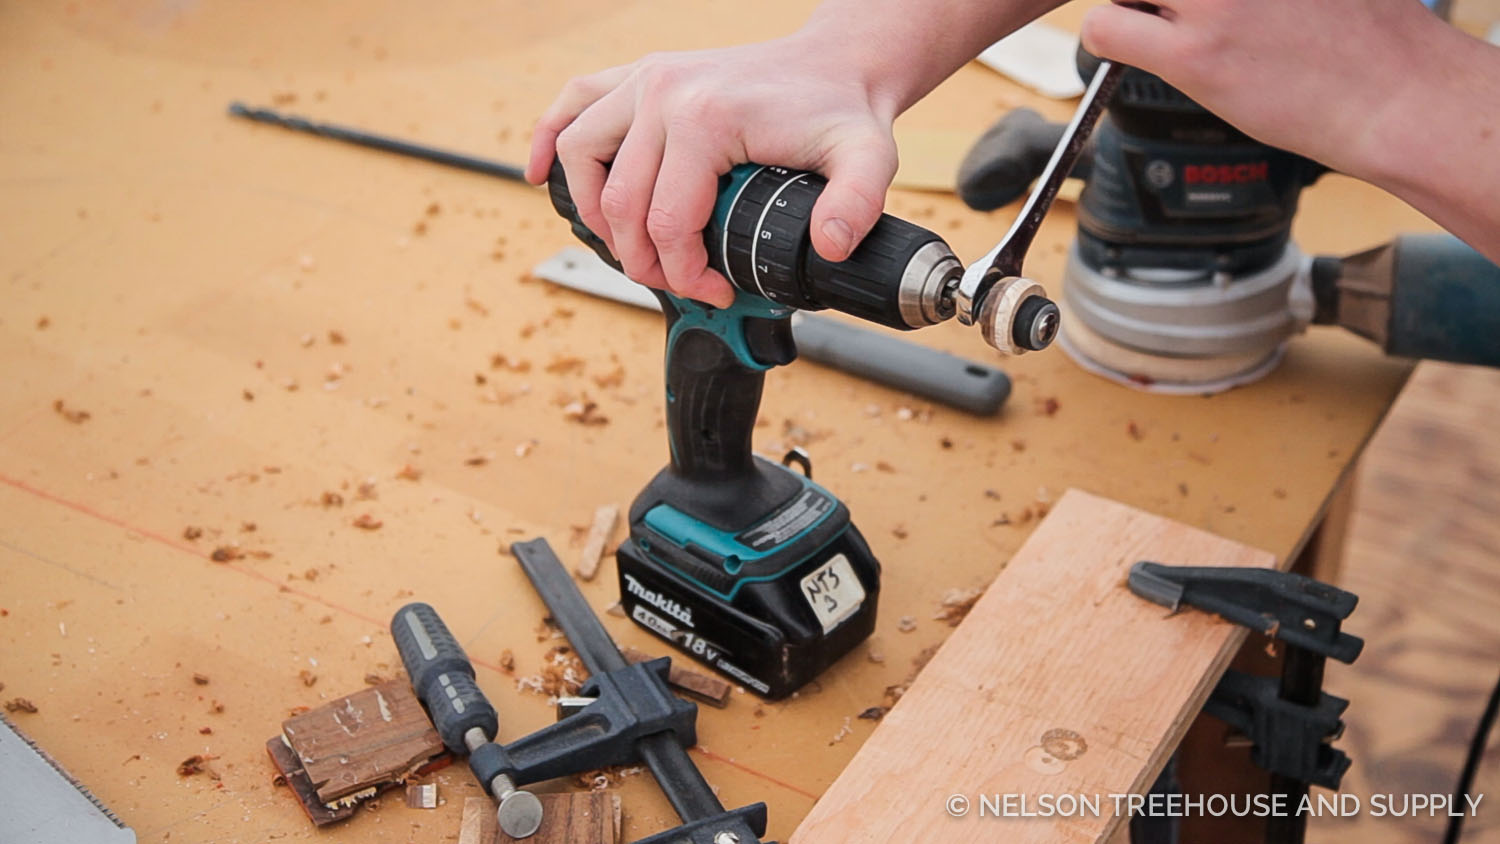
Now for the fun part! I highly recommend using safety glasses (DUH!). Take the palm sander in one hand, and the drill with the ring attached to the drum in the other. Smooth out the exterior surface of the ring, removing any excess material. Don’t press too hard on the ring with the palm sander; just take your time!


I finished sanding the ring with 500-grit sandpaper. You can finish with whatever grit you prefer!
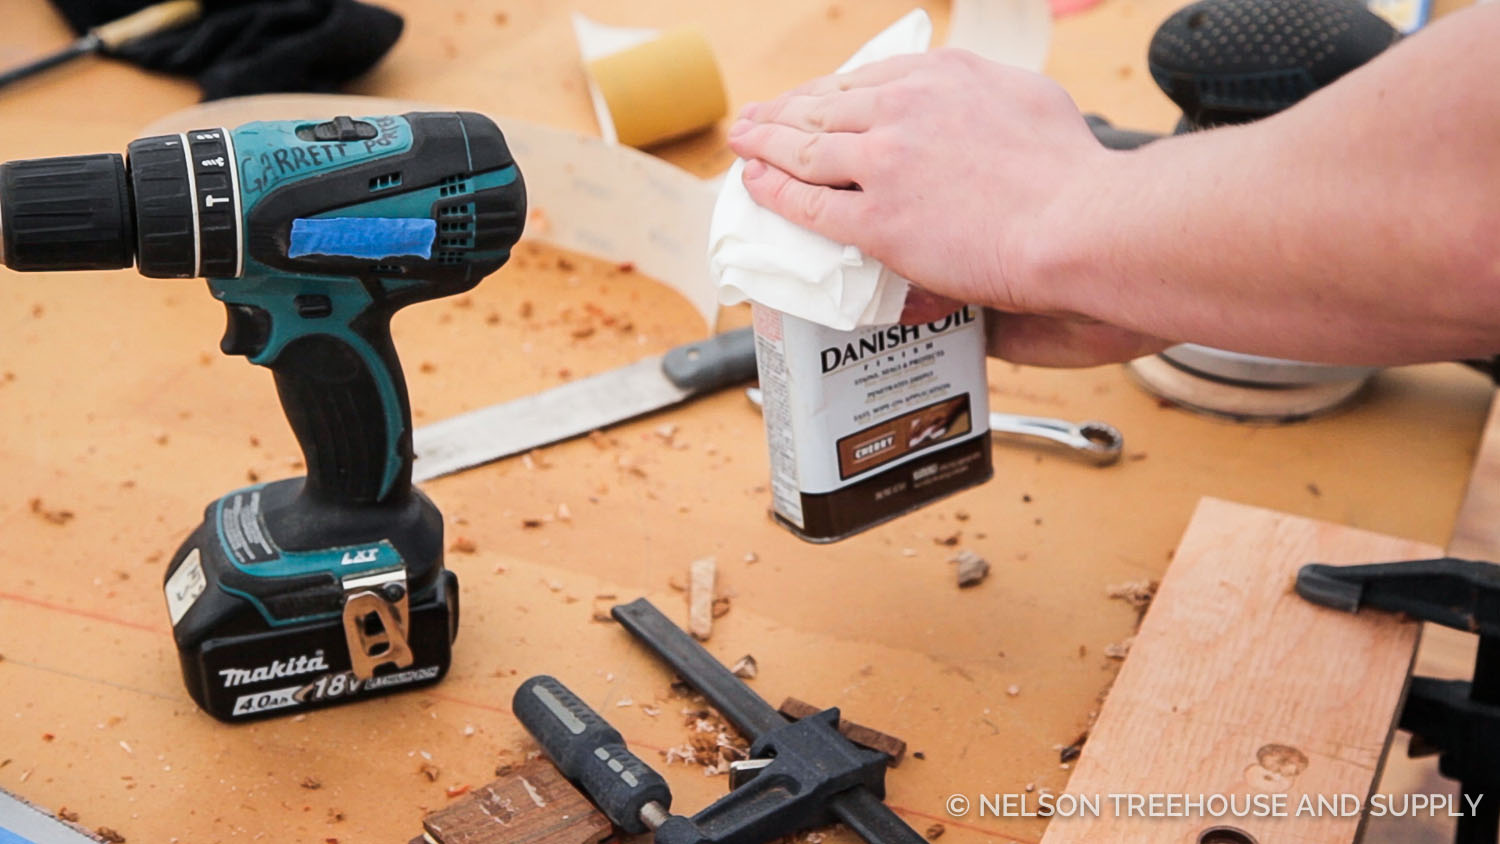
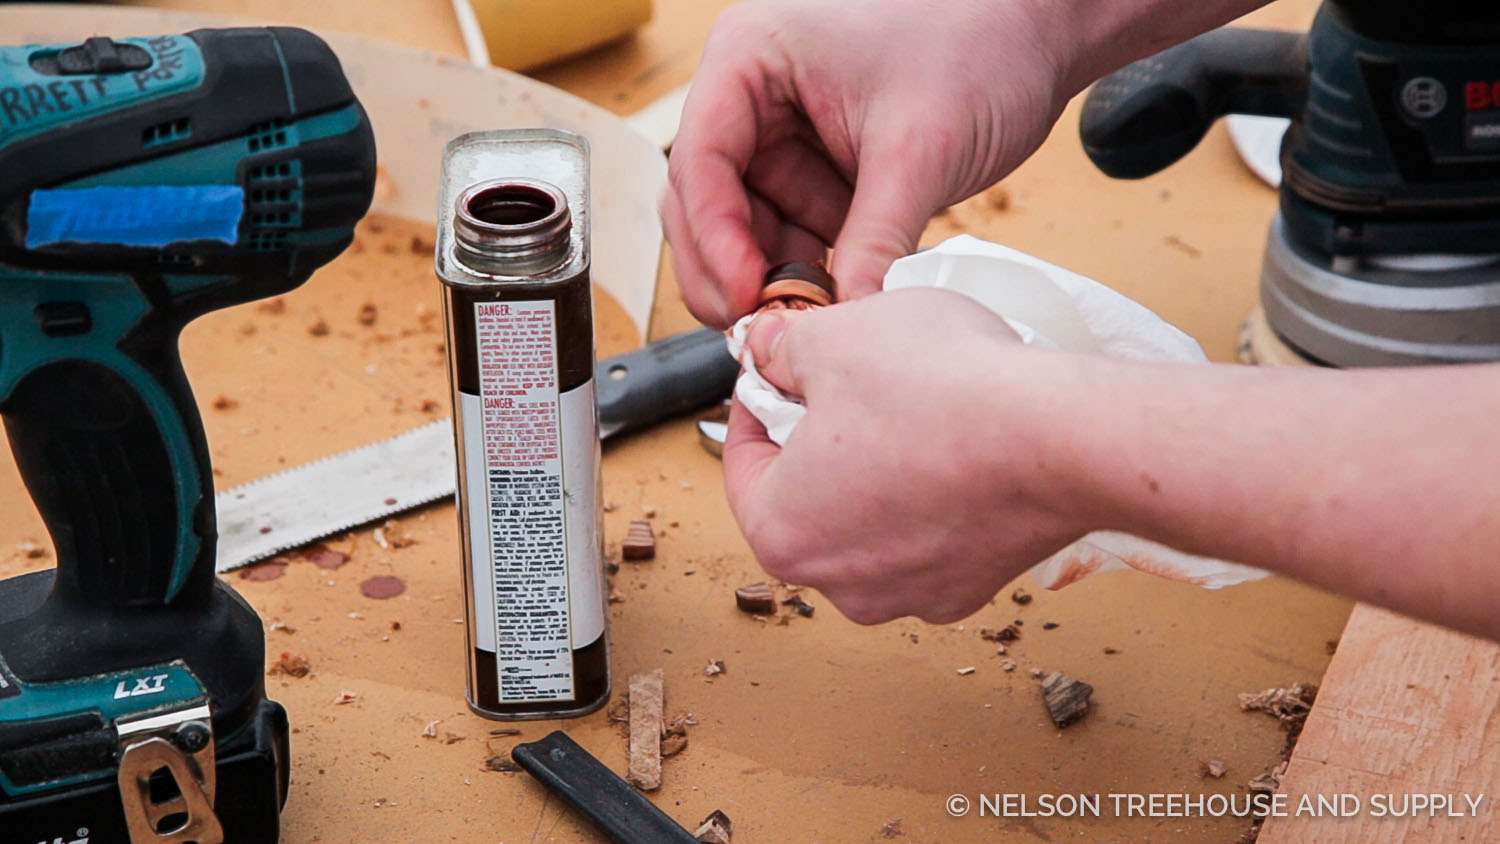
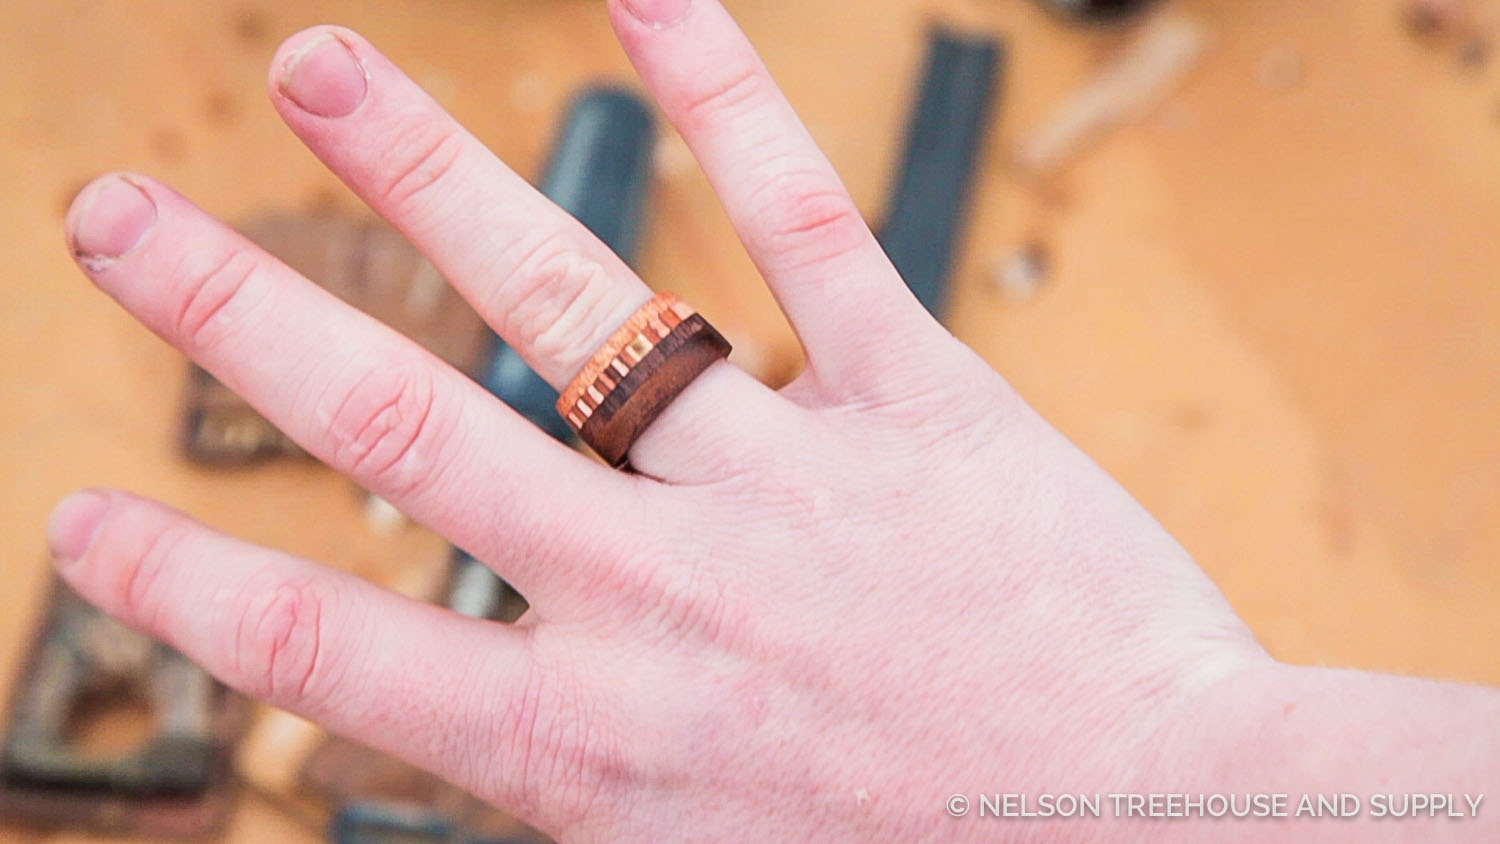
Rub it down with the oil of your choice and admire the final product!
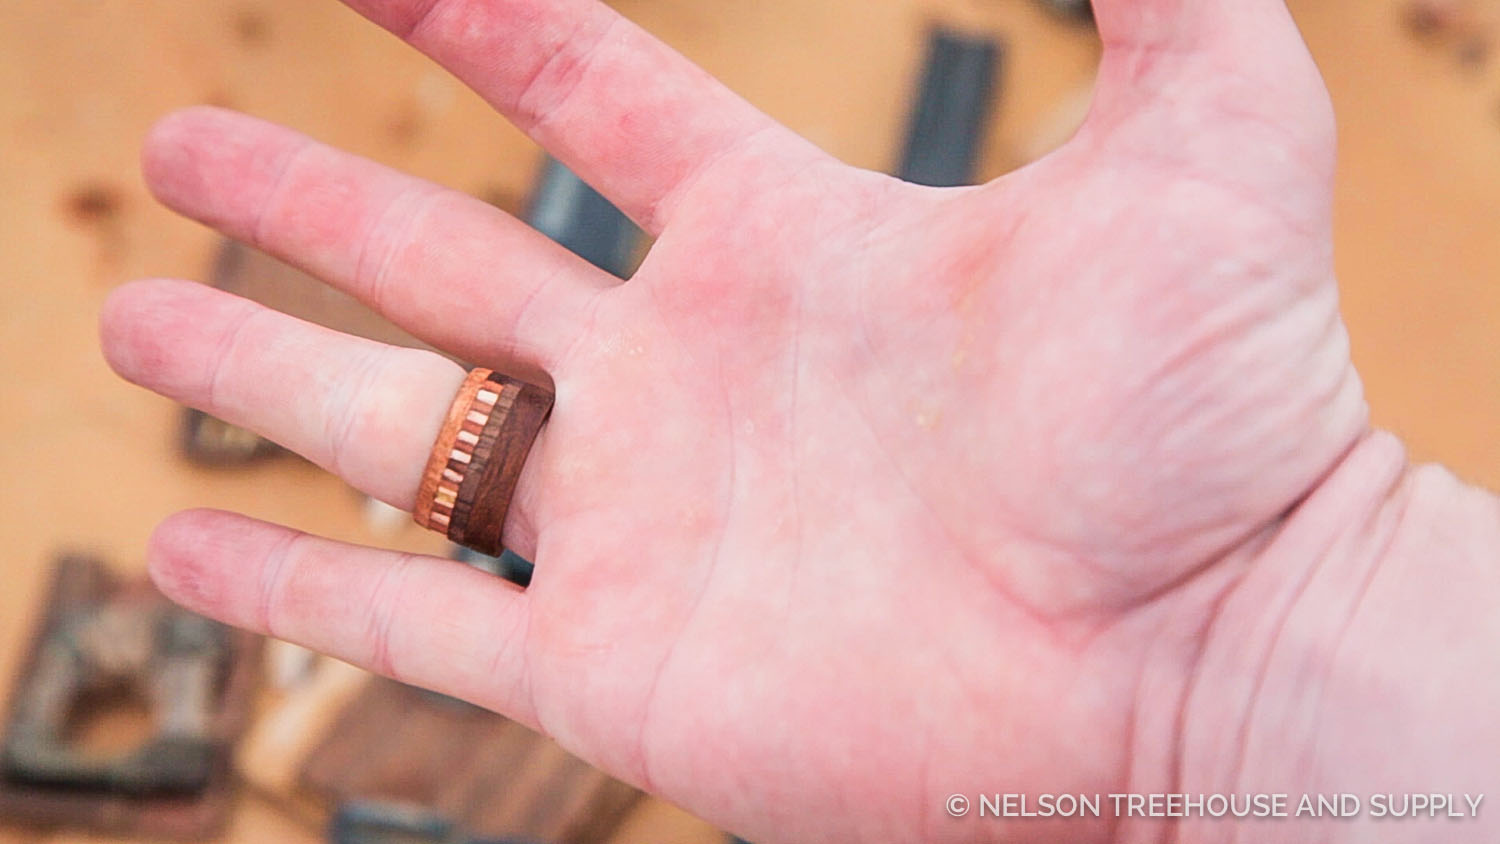
We hope you’ve found our tutorial inspiring and informative!
Let us know if you make your own wooden rings by tagging us on Instagram!


 LOGIN
LOGIN